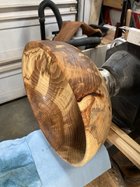
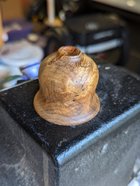
Aaron, After my difficulty with ink I tried a simple method which worked so much better AND is also much easier. This is a smaller Ash bowl, 8 x 3.Marc-I've got a nice ash bowl I plan to use India Ink on. Thanks for the tutorial here! I will probably also finish over that with multiple coats of TruOil, and buff with silver embellishing wax, as I'm going for a kind of radical design that looks stunning in my head. We'll see...
As a quick follow-up question, I got a 160z. bottle of the Speedball ink. If I want an even glossy jet black, what might be my best steps? Do I thin with DNA and build coats? What is the best application method? Old rags? Foam craft brush? Any advice on this is appreciated, as I've never done it before. Aaron
I thinned the ink (speedball) with alcohol. I didn’t measure, but maybe 1/4 alcohol. Used a 1 1/2“ foam brush. The important thing, I found, is to make a single wipe with enough on the brush to cover, which it easily does. Try hard not to go over an area. Do Not brush it in. Make it all black and step away.
Once dry, I used a bit of 0000 steel wool to cut the nibs. Then finish with whatever you like. The ink is a shellac base, so is compatible with anything except alcohol.
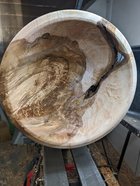
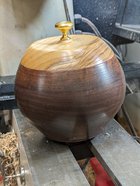
This bowl has a first coat of tried and true. The plan is to add more coats for depth and slick.


")


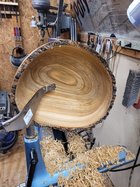
 You'd think I would learn not to adjust it when the lathe is on.