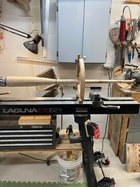
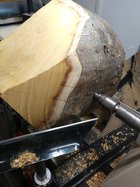
going to try and make a big piece for a cancer auction. Using my favorite NIP. Tear out was crazy on this end grain piece.


") .
.


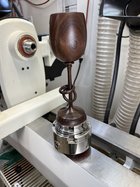
That’s all I see now! Big fan of mushrooms so I think I’m okay with itThe mushroom box.
Not picking I really like it!

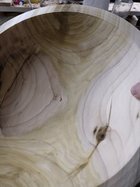
Tough choice. My two cents, it looks pretty nice as is. And, I like the idea of the plugs being part of the bowl's historyI did remove the tenon and finished the bottom about a week ago, the picture shows the plugged holes, been debating with myself of maybe making a dark ring where the plus are now, then again maybe not, it is part of the bowl's history.


That's easy enough.. biggest expense (one time, usually) would be the stoneware crock for it (With the weighted lid) after that it's as much cabbage as you can manage, and If you want to do a lot, a big mandolin slicer - usually done in early fall while temps are not too cold, not too hot (70's) - shred your cabbage, make a layer (about an inch thick) in bottom of crock, sprinkle on a layer of canning salt (It helps bring the juices out of the cabbage) and then your cabbage masher (Mine was basically a 4 inch thick bat with a waffled plate bolted to it much like a meat tenderizer hammer bat of course turned out of a 40" long ash branch, it has since split so I gotta make a new one for next year when we plan to make more.. our cabbage crop didn't survive this summer, unfortunately.) Then work the layer of cabbage til it's well juiced, add another layer of cabbage , repeat , until crock is nearly full, then wrap your weighted lid in saran wrap or a clean unscented trash bag and lay it on top (to keep your kraut submerged) and set it aside for a few weeks to ferment.. it's done when it starts to have the taste & texture you like. Some traditionally add (I forget the name, something like caraway seed?) seeds to the batch for flavor, but I dislike it myself, so I go with plain old unseeded kraut. Still have a couple pounds in the freezer from 2020, we love pork & sauerkraut in the crock pot. Or if you wanna practice a small batch you can do your own kraut in a quart jar (or gallon jar) - plenty of recipes on a google search...Vince, that is awesome! I love sauerkraut, but have never made it. I think I need to now (if only for an excuse to make one of these!)
I always thought it was made with vinegar but it must be the fermentation process that gives it that flavor to me.That's easy enough.. biggest expense (one time, usually) would be the stoneware crock for it (With the weighted lid) after that it's as much cabbage as you can manage, and If you want to do a lot, a big mandolin slicer - usually done in early fall while temps are not too cold, not too hot (70's) - shred your cabbage, make a layer (about an inch thick) in bottom of crock, sprinkle on a layer of canning salt (It helps bring the juices out of the cabbage) and then your cabbage masher (Mine was basically a 4 inch thick bat with a waffled plate bolted to it much like a meat tenderizer hammer bat of course turned out of a 40" long ash branch, it has since split so I gotta make a new one for next year when we plan to make more.. our cabbage crop didn't survive this summer, unfortunately.) Then work the layer of cabbage til it's well juiced, add another layer of cabbage , repeat , until crock is nearly full, then wrap your weighted lid in saran wrap or a clean unscented trash bag and lay it on top (to keep your kraut submerged) and set it aside for a few weeks to ferment.. it's done when it starts to have the taste & texture you like. Some traditionally add (I forget the name, something like caraway seed?) seeds to the batch for flavor, but I dislike it myself, so I go with plain old unseeded kraut. Still have a couple pounds in the freezer from 2020, we love pork & sauerkraut in the crock pot. Or if you wanna practice a small batch you can do your own kraut in a quart jar (or gallon jar) - plenty of recipes on a google search...
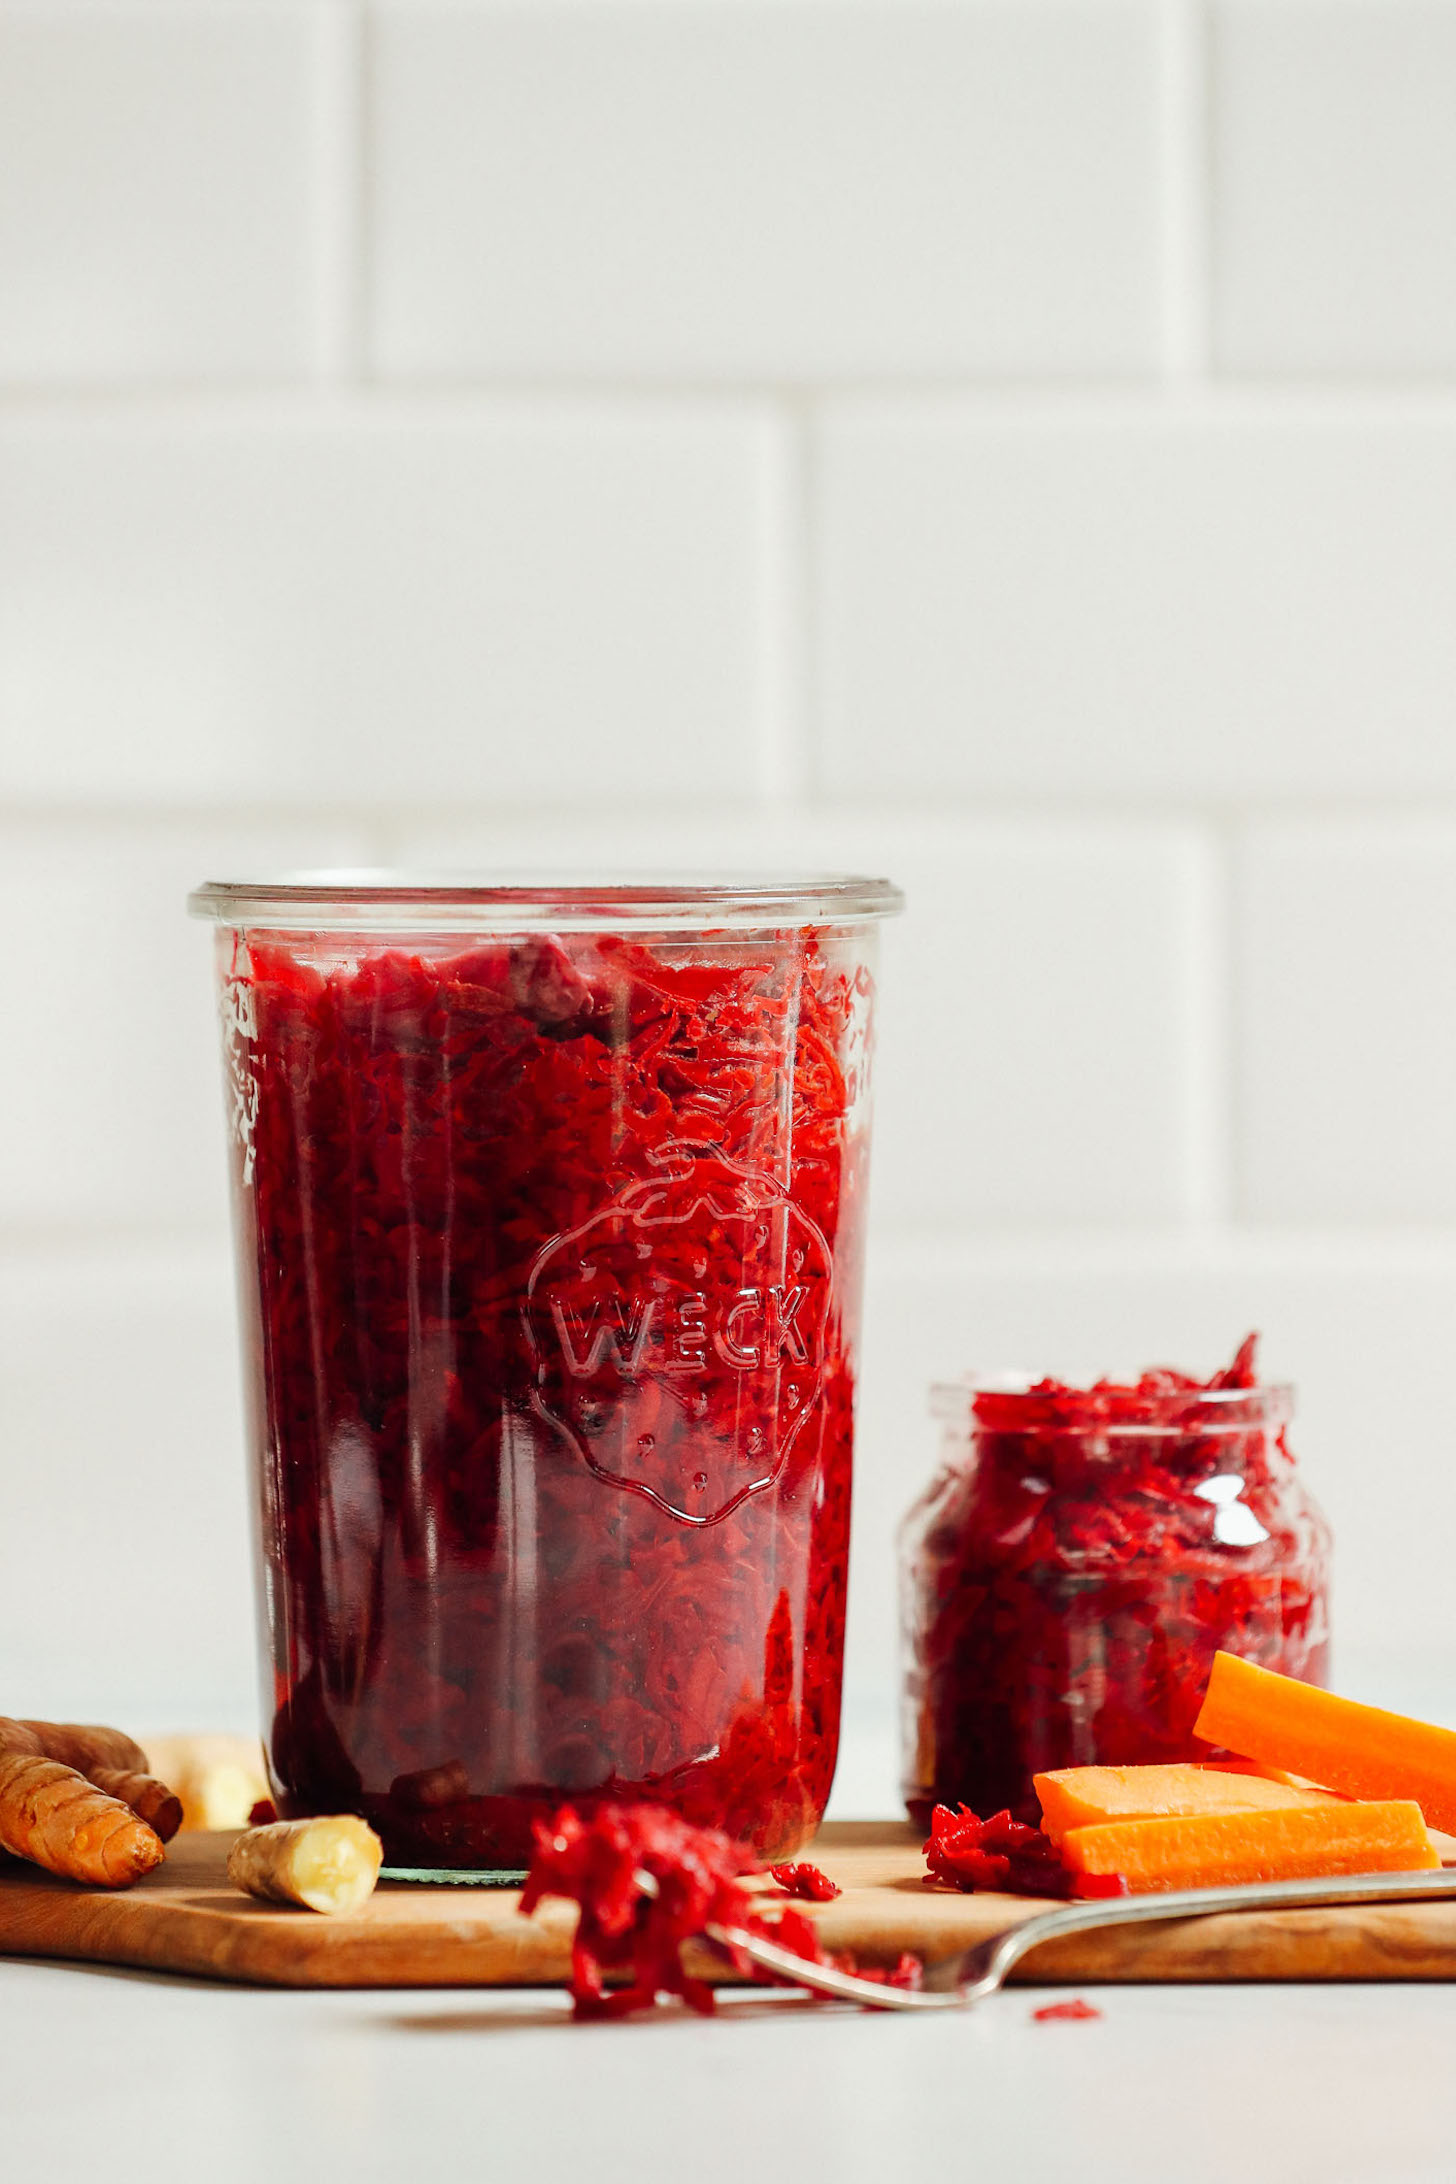
 minimalistbaker.com
We make it pretty much the same as Brian described except for the weight on top we use a doubled up plastic bag, put it in the crock and pull the bag over the sides of the crock, put a few inches of water in the bag for weight. No smell this way because water pushes the bag against crock wall and seals it. We usually make it mid October and it's ready for new years. We keep it in the basement where it's about 65 degrees. About mid March I clean out the crock and freeze it.Vince, that is awesome! I love sauerkraut, but have never made it. I think I need to now (if only for an excuse to make one of these!)


sort of the German equivalent of Korean kimchi. I love Sauerbraten but pass on the Sauerkraut—nice bat, though.I always thought it was made with vinegar but it must be the fermentation process that gives it that flavor to me.
Last batch we made was with purple cabbage instead of green. It was very good.Vince, that is awesome! I love sauerkraut, but have never made it. I think I need to now (if only for an excuse to make one of these!)


WOWI had two bowls on my lathe yesterday.....
Finished off a Claro Walnut burl bowl from Oregon, and started a spalted hackberry bowl......
-o-
View attachment 55926 View attachment 55927 View attachment 55928


Until then.... Bang.......Bang...... (little more rpms) bang. bang.


I had two bowls on my lathe yesterday.....
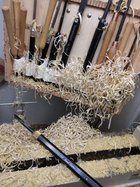
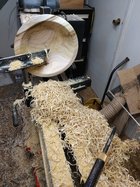
This is OK as long as you don't talk to yourself during the competition.Had a contest with myself earlier (notice I was careful in my choice of words) trying to get the longest curl out of my FOTP wood. I'm guessing poplar because of the green cast but it turned nice whatever it is.

Yes sir.....Gorgeous bowls! Is a faceplate and glueblock your standard procedure?
I too wish I had a bandsawOne of these days maybe I'll get a bandsaw.


I'd like a tutorial on how you did this please?Tried something different. Not as nice as I would like but ok for a first. Maple and Walnut.
View attachment 55961
View attachment 55962
View attachment 55963
View attachment 55964
so the two pieces of walnut were one for the bowl sandwich and then the other was the handle and then you assembled it for the final turn in the second picture?I didn't take any pics of the start as I wasn't sure if it would work. I started with 2 1x2 pieces of maple that I sandwiched around two pieces of walnut. I left the handle part unglued so I could turn the scoop part on the outside enough to make it round and fit my small chuck. Once turned I glued in the handle portion and fitted it to the outside dimensions. Mounted it in the chuck and turned out the center.
After that I mounted the handle blanks and turned it as seen in the pics. Hope that explains it enough. If not I can take pics when I try again.