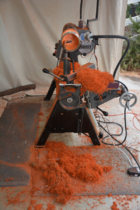
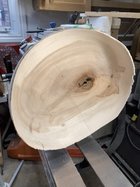
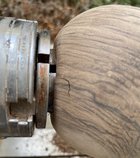
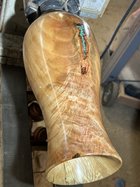
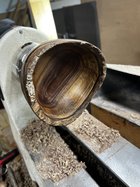
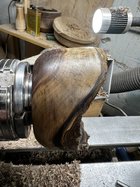
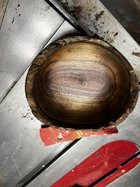
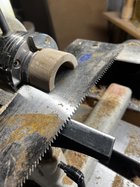
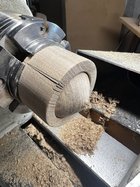
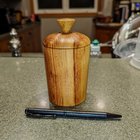
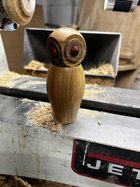
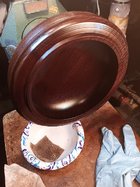
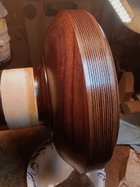
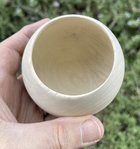
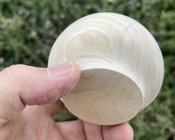
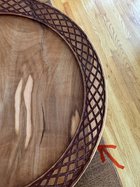
Better than what was on my lathe earlier. Hint: My nose was really cold..........What's on my lathe? At this point probably frost. My heat is not keeping up with the -43 C Temps here.
-
April 2025 Turning Challenge: Turn an Egg! (click here for details) -
Congratulations to Kelly Shaw winner of the March 2025 Turning Challenge (click here for details) -
Congratulations to Guillaume Fontaine for "Nebules" being selected as Turning of the Week for April 6, 2025 (click here for details) -
Welcome new registering member. Your username must be your real First and Last name (for example: John Doe). "Screen names" and "handles" are not allowed and your registration will be deleted if you don't use your real name. Also, do not use all caps nor all lower case.
You are using an out of date browser. It may not display this or other websites correctly.
You should upgrade or use an alternative browser.
You should upgrade or use an alternative browser.
What’s on your lathe?
- Thread starter Rusty Nesmith
- Start date
Kevin Jesequel
TOTW Team
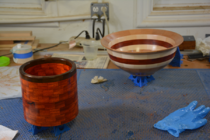
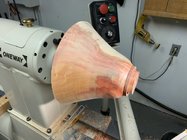
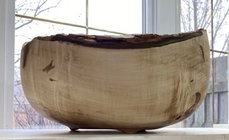
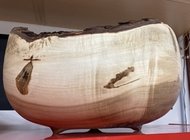
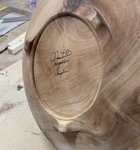
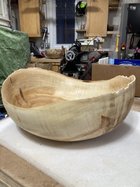
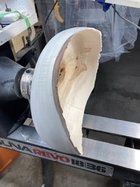
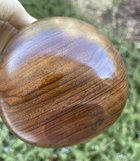
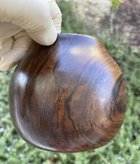
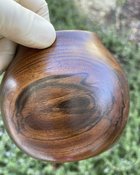
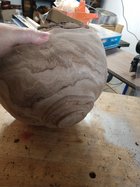
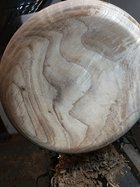
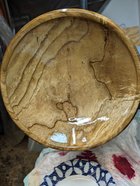
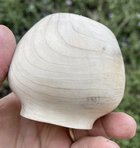
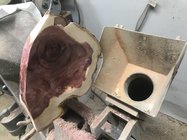
Looks like Myrtle to meI just don’t know. I have a bunch of little blanks given to me by the man who sold me my lathe, as he was quitting turning, but it’s all unknown to me. Unless it comes labeled, I’m ignorant as to species.
Took oil nicely:
View attachment 59264View attachment 59265View attachment 59266
Alan, probably bay laurel/myrtle. It generally has a sweet kind of spicy smell when you are turning it. I have had some that smells like a horse stall because it was starting to rot. It is one of those woods that really glows the higher your sanding grits go to.
robo hippy
robo hippy
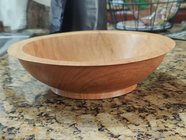
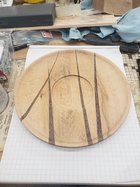
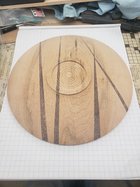
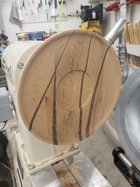
I have a chunk of Cedar and a chunk of Maple. Sliced them in half on the bandsaw so I can get 2 dishes each instead of making mostly sawdust.
These were given to me by the saw mill for the price of making him 1 dish out of all of it.
[ I have enough stock to make 10.]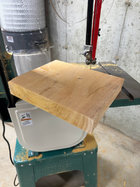
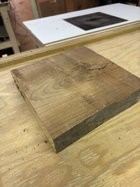
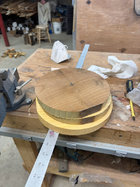
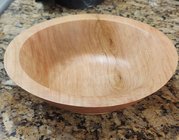
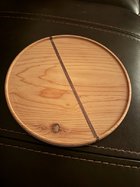
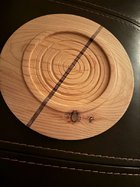
Got 1 turned. Needs final sanding and finish. Center of dish is a knot. I had to glue all three of them.
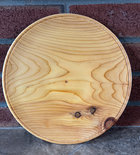
These were given to me by the saw mill for the price of making him 1 dish out of all of it.
[ I have enough stock to make 10.]


Got 1 turned. Needs final sanding and finish. Center of dish is a knot. I had to glue all three of them.

As thin as I have ever attempted 1/8" wall thickness with the bottom a tad thicker for some stability. Ambrosia Maple. Had to fill and work on the knot which took some doing. Finished using Tried and True original single coat for now.
Attachments
That has a really nice shape/design to it.
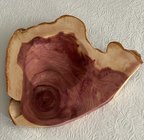
A small slab of cedar I had laying around. Just got through removing a tenon from a pecan bowl and decided to play a bit. Slapped the flat side onto the vacuum chuck and turned a tenon, turned it round and chucked it then made a natural edge dish. Letting the lacquer dry a bit before setting up the vacuum chuck again for the bottom.

I just joined a northern Virginia Facebook woodworking group. They’re holding their first “Maker’s Trade” next month and about 15 of the group’s members are meeting to trade mallets they’ve made for the purpose and invited me to join them. Most (all?) of them are bringing mallets made by traditional carpentry and jointery techniques, and some of their entries are quite exquisite:
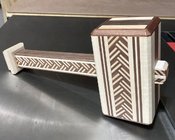
I kinda feel inadequate with my meager lathe skills compared to that lol!
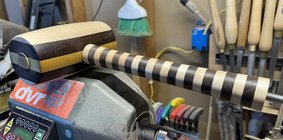
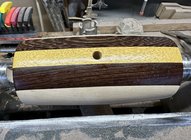
But I picked up some small wenge and yellowheart cutoffs, laminated them between some hickory and turned that for the mallet head.
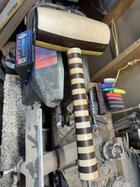
For the handle I stacked hickory and walnut 2”x2” squares on all thread, glued them and screwed them tight on each end to clamp them, then turned the resultant handle.
This is the initial fit test:


Last edited:
Attachments
How thick was the slab you started with?
I would have never guessed there was that much figure in that piece.A few more views.
(I'm assuming it's the same piece from your previous post)
That's gorgeous!
Sam I have perused some more info on the Catalpa tree species, and my opinion is that what you are turning is Southern Catalpa, and what I have turned and showed is Northern Catalpa.I think I've turned 4 bowls so far out of three different trees but they all were dark before the finish.
Interesting grain just not a pleasant overall color to me anyway. I guess I just got used to all the walnut I turned being "usual" dark wood and the rest I turn is light wood. Ash, maple etc..
It looks like the northern is lighter in color than the southern, I found a quite extensive study and info on Catalpa, but basically it's all about the southern species, I added some of the info here as well.
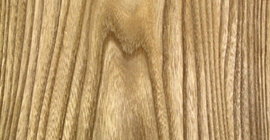
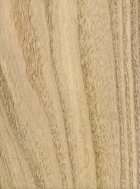
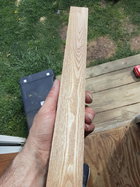 .
.then here is the info and a picture of large Catalpa slabs that (to me) could be southern Catalpa (I'm not sure about that)
the 4 picture limit made me combine the last two pictures so-as to get all the info and the large slab picture.
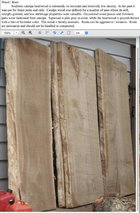
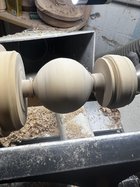
Almost finished thinking of coloring grayishStarted a little project this after which included make a gig to hold the round piece I am making try to get it round like a ball ! The jig needed be cut in half. I know there’s another way to do this but I wanted to try this also.
part one of the equation!
View attachment 59435View attachment 59437View attachment 59438
Attachments
Not sure of southern or northern. I'll bow to experience on that.Sam I have perused some more info on the Catalpa tree species, and my opinion is that what you are turning is Southern Catalpa, and what I have turned and showed is Northern Catalpa.
It looks like the northern is lighter in color than the southern, I found a quite extensive study and info on Catalpa, but basically it's all about the southern species, I added some of the info here as well.
View attachment 59445 View attachment 59446 View attachment 59447.
then here is the info and a picture of large Catalpa slabs that (to me) could be southern Catalpa (I'm not sure about that)
the 4 picture limit made me combine the last two pictures so-as to get all the info and the large slab picture.
View attachment 59451
This bowl was roughed out end of March last year. To me anyway it doesn't have the same color as your pictures but it does match the other three trees I've gotten wood from.
I don't think they grow naturally around here, maybe they do but I know at least two of these were planted one was a huge old tree from the cemetery that a storm took out.
The second pic the bowl has been shortened. And I'm pretty sure the third pic is the same bowl that I finished the other day. Wet with DO.
Attachments
I feel your pain - not that cold here, but a couple hours with the space heaters going only got my shop to 25 degrees. It will be a few days before I’m back at the lathe.What's on my lathe? At this point probably frost. My heat is not keeping up with the -43 C Temps here.
Yes that is quite a different color Sam, and it shows that it was a very fast grown tree, that last picture looks pretty, mine did not change a lot in color, it is a little darker, still a pretty bowl, LOML has a crush on itNot sure of southern or northern. I'll bow to experience on that.
This bowl was roughed out end of March last year. To me anyway it doesn't have the same color as your pictures but it does match the other three trees I've gotten wood from.
I don't think they grow naturally around here, maybe they do but I know at least two of these were planted one was a huge old tree from the cemetery that a storm took out.
The second pic the bowl has been shortened. And I'm pretty sure the third pic is the same bowl that I finished the other day. Wet with DO.
Yes that is quite a different color Sam, and it shows that it was a very fast grown tree, that last picture looks pretty, mine did not change a lot in color, it is a little darker, still a pretty bowl, LOML has a crush on it, it is often on the dining room table

LOML = lady of my life?? I still say we need a thread with the acronyms.
or love I bet.
That is what the felt was for
I like lines you added plus the rest of it!Very hard and dense, East India rosewood has a very unforgiving end grain that tends to be "grabby". Must be very careful with this species.
View attachment 59459 View attachment 59460
Thanks Robert.....I like lines you added plus the rest of it!
In retrospect, I think I overdid it, and had too many detail grooves in the band.....but, someone will like it, and buy it, since the quality and execution went extremely well. I have had that many detail grooves in other bowls, and it looked just fine, but to my thinking, it didn't work as well with this particular bowl. I'm not really sure what it is that makes me think this......possibly the difference is with intense burls, as opposed to the more plain grain pattern in this East Inda rosewood, and the visual impact created by those differences. Five or seven detail grooves would have had a better look to it, I think.
-o-
Phil,
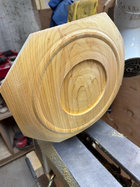
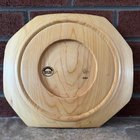
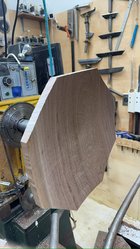
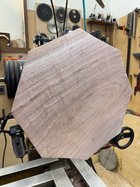
I mounted a piece of walnut not knowing where I was going with it… and ended up with an octagonal tray. I’m not going to incise this like I did my last piece as the grain is pretty nice and I don’t want to lose that. I thought I’d just do a thin ring embellishment around the top edge.
What do you call that single line, like a progressive sine wave pattern which runs around the top edge of a platter and after five or seven revolutions meets up at the beginning?
Attachments
For me, it’s called a tool mark!What do you call that single line, like a progressive sine wave pattern which runs around the top edge of a platter and after five or seven revolutions meets up at the beginning?
I know, you were picking up the psychic emanations I was putting out a week ago... Believe it or not, I used the same rationale...Someone will like it.....Thanks Robert.....
In retrospect, I think I overdid it, and had too many detail grooves in the band.....but, someone will like it, and buy it, since the quality and execution went extremely well. I have had that many detail grooves in other bowls, and it looked just fine, but to my thinking, it didn't work as well with this particular bowl. I'm not really sure what it is that makes me think this......possibly the difference is with intense burls, as opposed to the more plain grain pattern in this East Inda rosewood, and the visual impact created by those differences. Five or seven detail grooves would have had a better look to it, I think.
-o-
Attachments
Last edited:
Very nice looking chunk of wood! Not sure on line.Phil,
I mounted a piece of walnut not knowing where I was going with it… and ended up with an octagonal tray. I’m not going to incise this like I did my last piece as the grain is pretty nice and I don’t want to lose that. I thought I’d just do a thin ring embellishment around the top edge.
What do you call that single line, like a progressive sine wave pattern which runs around the top edge of a platter and after five or seven revolutions meets up at the beginning?
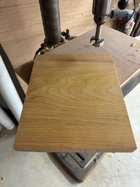
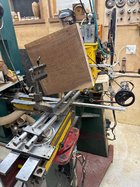
Somebody drilled right thru the piece of wood when they were supposed to drill a 1/4 inch deep for the circle jig pin!
^^^^^"Somebody"?????
Uh huh.....OK......I've done plenty of dumb things like that, too!
-o-
Phil:Somebody drilled right thru the piece of wood when they were supposed to drill a 1/4 inch deep for the circle jig pin!
Cut the hole out and mounted in a piece of Walnut. No finish applied and still needs final sanding.
View attachment 59513
View attachment 59514
Nice save. Reminds me of the ones I'm working on as a design exercise.
Cheers.
Barry W. Larson
Calgary, Alberta, Canada eh!

