Welcome to my inaugural follow along project on our AAW Forum. I’ve done a few of these over on the SWT site and find them engaging, entertaining, open for discussion and exchange of ideas. What makes them work best is if our fellow members chime in and join the party! A few rules to remember:
1) Silly is spoken and understood here; feel free to give silly a whirl!
2) I speak knucklehead perfectly so bring it on!!
3) I typically wing my projects at some point. Ideas tend to morph as they rattle around in my dome; I also hear what my fellow members say! Shout it out if you’ve got any thoughts.
It has been said that I am unable to accurately follow a plan…..where there’s smoke, there’s fire, lol!!
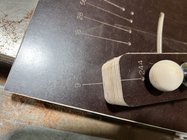
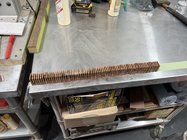
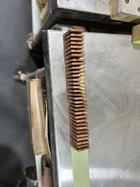
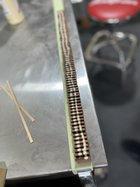
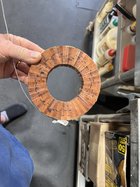
Ok, I’ve created a “vanilla” plan on Lloyd Johnson’s SegmentPro software. I use this program for my high count pieces and think it’s the bomb! I’m using it to get an idea on ring/ segment sizes to get started. My plan has now morphed to create different segment count rings. This cut sheet is figured with 16 segment rings….throw that out the window. I’m thinking rings from 144 segments to 9 segments. I’m thinking about something I’ve never done before sooo woohoo!! Try to keep up with my wandering.
 WWWWW
WWWWW
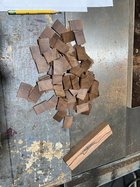
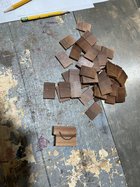
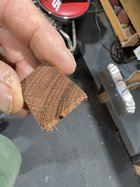
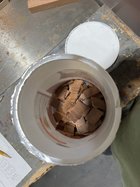
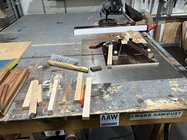
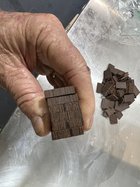
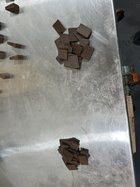
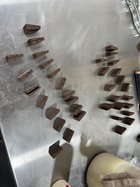
I’m finally cutting into some Central American lumber my friend Butch gifted me 17 years ago. I’m not sure what it is, the wood blocks are 3X8 about 18” long. The piece of Wenge is out of a nice wide 5/4 rough-sawn piece. It’s a great-looking board. Step one, glove up! This Wenge wants to hang out with you in the form of splinters.
 WWWW
WWWW
1) Silly is spoken and understood here; feel free to give silly a whirl!
2) I speak knucklehead perfectly so bring it on!!
3) I typically wing my projects at some point. Ideas tend to morph as they rattle around in my dome; I also hear what my fellow members say! Shout it out if you’ve got any thoughts.
It has been said that I am unable to accurately follow a plan…..where there’s smoke, there’s fire, lol!!
Ok, I’ve created a “vanilla” plan on Lloyd Johnson’s SegmentPro software. I use this program for my high count pieces and think it’s the bomb! I’m using it to get an idea on ring/ segment sizes to get started. My plan has now morphed to create different segment count rings. This cut sheet is figured with 16 segment rings….throw that out the window. I’m thinking rings from 144 segments to 9 segments. I’m thinking about something I’ve never done before sooo woohoo!! Try to keep up with my wandering.
WWWWWI’m finally cutting into some Central American lumber my friend Butch gifted me 17 years ago. I’m not sure what it is, the wood blocks are 3X8 about 18” long. The piece of Wenge is out of a nice wide 5/4 rough-sawn piece. It’s a great-looking board. Step one, glove up! This Wenge wants to hang out with you in the form of splinters.
WWWW