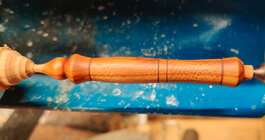
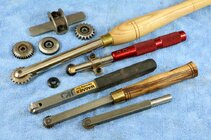
I have the small sorby texturing tool
Some things, which exact Sorby set do you have? What texturing wheels came with it? What type of turnings are you trying to texture: spindles, or things like platters, bowls, or box lids, or what? If spindles, what diameters have you tried?
Looking back a few messages, I see you said you have the "small" tool. I'm assuming this is what they call the "micro" tool. Sorby sells it as a micro "spiraling" tool. Is that what you have?
I bought the large Sorby texturing set and the Micro set. I still have the large set but unfortunately, I can't find the Micro in my shop - I may have given it to someone - so I can't examine it. How would you describe the texturing wheel(s) you have?
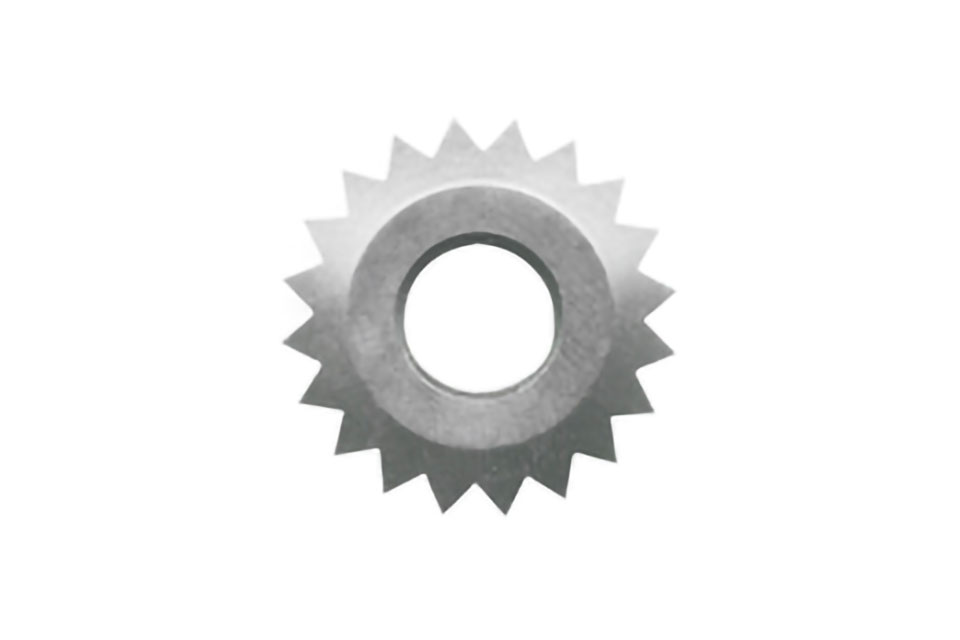
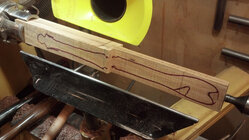
If I remember, it came with two wheels but I'm certain I had a third wheel - I may have bought it separately Both that came with the Micro Spirialing Tool had a star shape from the side but I think both had sharp flats on the circumference, kind of like gears, not points. If so, I found these good for making spirals on face work - top of boxes, etc., but not so good for making textures on spindles, like in the pictures below. For this type of texturing, the wheel needs sharp points.
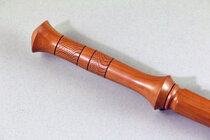
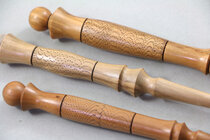
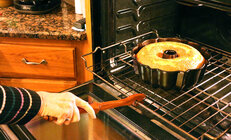
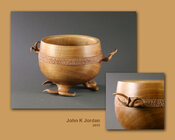
For these, I use a star-shaped wheel with very sharp points around the circumference. I have a wheel like this for my large Sorby and one for a small, shop made, texturing tool. The wheel on the large Sorby set has a larger diameter but the space between each point is larger than the spacing on the small texturing wheel I use. The larger spacing doesn't work as well, to my satisfaction, on smaller diameter spindles as the wheel with the smaller spacing. I'm not at the shop now but I think the diameter of the first handle shown (on an "oven stick") is well under an inch, probably closer to 3/4". The small texturing wheel works well on this diameter, making the closely spaced dots.
I think for the Micro set I must have purchased a separate texturing wheel with sharp points. Maybe it's this one called the "Sorby Micro Texture CUTTER".
Check out the deal on Sorby Micro Texture Cutter at Packard Woodworks: The Woodturner's Source
www.packardwoodworks.com
I saw that cutter somewhere in a picture taken at an angle and it appeared to have very sharp points around the circumference. If you don't have one with sharp points, you might call and ask if the one Packard sells does. If not, I've also seen them offered at an industrial supplier, Granger maybe. You just have to be sure the shaft of the tool matches the hole in the cutter.
Or maybe Crafts Supplies sells the sharp pointed cutter since they offer the Micro spiraling set:
A small scale version of the Robert Sorby® Spiraling/Texturing Tool, the Robert Sorby® Micro Spiraling/Texturing Tool allows you to create one-of-a-kind textures and spiral patterns on small diameter work.The built-in tool saddle with reference marks allows you to clamp the tool shaft in place...

woodturnerscatalog.com
I found a picture of a meat tenderizer I made with a ring of texturing. I did this with one of the spiraling cutters, but I pushed it straight into the textured area, without angling and moving as it would normally be used to make a spiral. Makes a different (and interesting) type of texture, but not nearly as delicate as the sharp pointed wheels. I'm sorry I didn't cover how to I've used spirialing wheels in the document (and research exactly where to get the small pointed wheels I prefer). However, I think there are some youtube videos on using the spiraling tool.
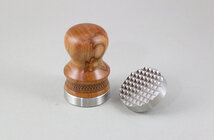
Note that the reason the spiraling tools come with the adjustable guide is so you can set it to a specific angle and slide it along the toolrest. As the tool cuts, it's normally moved along a spindle or across a face. The tricky part is coordinating the lathe speed with the lateral motion.
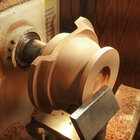
Some of these the disks shown below have spirals made by moving the spirialing cutter. With a little practice it's easy to make the little clean spirals in the cener of some. I made these quickly for and during a demo, not for specific projects. The spiraling wheel I used has sharp flats on the circumference, not sharp points. On most I added a little colored filler to make the texturing show up better. On one I used a cross-hatching method, angled first in one direction, then the another.
(Since the result can be variable and some variations look better than others, if I used this on, say, the lid of a box, either flat or shaped, I'd make several disks until one suited me then glue it into a recess cut into the lid of the box.
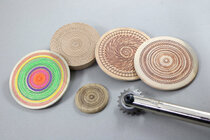
Turner and teacher Frank Penta uses these texture wheels a lot on plates and platters. He's done it often enough the result looks good. (I joke that you can't hang out with Frank unless you have a texturing tool in your pocket!)
However, I'm not a huge fan of the spirialing tool, perhaps I haven't used it enough, or perhaps because I mostly texture spindles and love the look of the sharp pointed wheel.
Oh, I just thought of something I didn't try. If a spiraling wheel is held so only the corners of the wheel contact the piece, it might work much like a wheel with sharp points.
Also, if I didn't have one with sharp points, I might try to modify one with a CBN wheel on bench grinder. (That might be "fun"!)
So do you have the spiraling wheels with the sharp flats or a wheel with sharp points? Maybe take a closeup picture of the wheels you use, from an angle that shows the points.
JKJ


