Hi everyone,
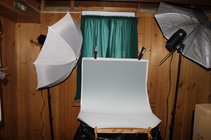
Following the Louisville symposium, I haven’t done a ton of actual turning; however, I have spent a lot of time cleaning, reorganizing, and planning. Planning for ways to get more serious about the craft. One of these ways is to improve my photography setup. I think it was Emiliano A or Bill B that said something along the lines of “your piece is only as good as its photograph”. The more involved I get, the more I realize this is true. So…one of the ways I am trying to improve my photographs is to get a proper gradient background or two. That said, they are expensive. I realize this is an investment, so I’m willing to pay for worthwhile backgrounds, but I’m wondering about this site, and if anyone has purchased through it/them:

 www.buy-backdrop.com
The prices seem almost too good to be true; although this usually screams “run away”, that’s not always the case. I like the offerings in larger sizes, but am not sure if the quality is there. Any thoughts?
Thanks for the help!
Following the Louisville symposium, I haven’t done a ton of actual turning; however, I have spent a lot of time cleaning, reorganizing, and planning. Planning for ways to get more serious about the craft. One of these ways is to improve my photography setup. I think it was Emiliano A or Bill B that said something along the lines of “your piece is only as good as its photograph”. The more involved I get, the more I realize this is true. So…one of the ways I am trying to improve my photographs is to get a proper gradient background or two. That said, they are expensive. I realize this is an investment, so I’m willing to pay for worthwhile backgrounds, but I’m wondering about this site, and if anyone has purchased through it/them:
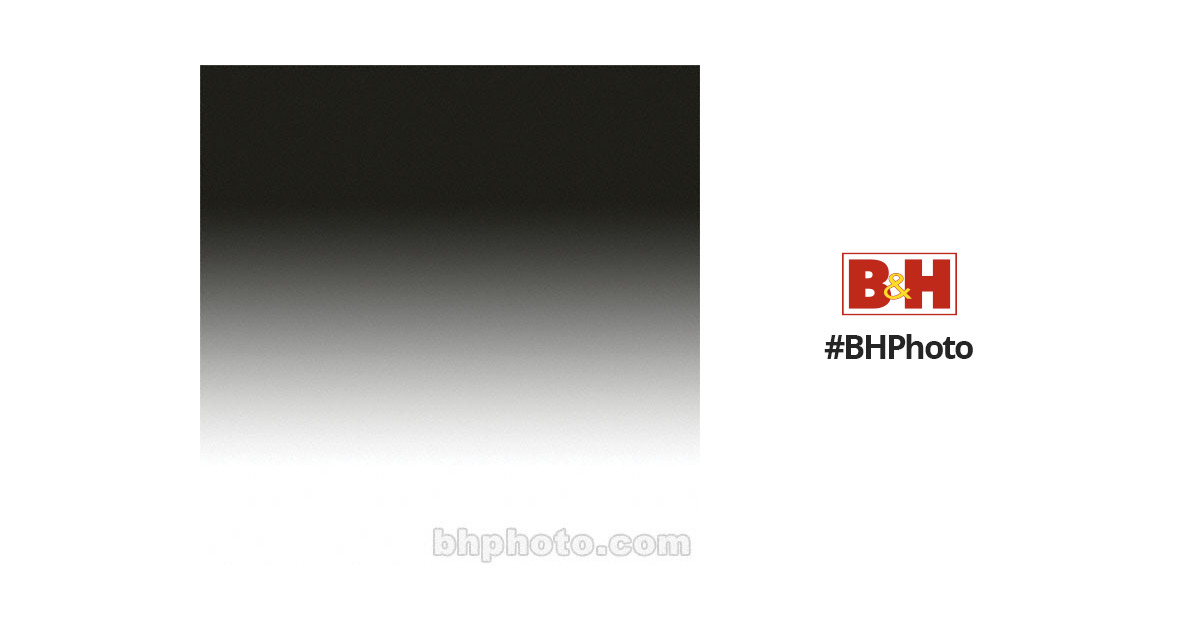
Gradient Color Photography Background Gray Black Backdrops For Photo Studio
Do you like Gradient Color Photography Background Gray Black Backdrops For Photo Studio?
The prices seem almost too good to be true; although this usually screams “run away”, that’s not always the case. I like the offerings in larger sizes, but am not sure if the quality is there. Any thoughts?
Thanks for the help!