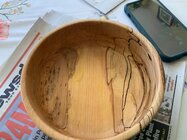
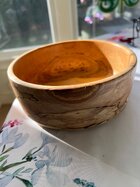
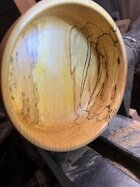
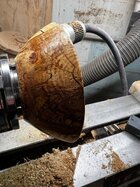
I have been having trouble getting the inside of my bowl flat. I have used the bottom of the bowl gauge, regular bowl gauge and scrappers.
It seems no matter what I try, I end up with slight lumps and sometimes raised center. I know I am doing something wrong but I can't seem to get it right! Any help would be appreciated.
Jerry
It seems no matter what I try, I end up with slight lumps and sometimes raised center. I know I am doing something wrong but I can't seem to get it right! Any help would be appreciated.
Jerry


")