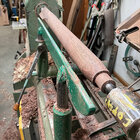
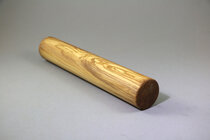
Working on a table, which requires 3 legs, which are 28" long and taper from 1 7/8" at the top down to 3/4" at the bottom. Looking for hints and techniques to improve speed and efficiency. The first leg is done, but it seemed to take an eternity. My basic approach - blank is Curly Soft Maple and is 32" long, started between centers and roughed it round at 2" with a tenon at the top end. Routed the mortises in each leg (60* apart, as table is triangle). The taper starts at the lower end of the tenon and goes down to the bottom of the leg. With a parting tool and calipers, cleaned the top of the leg to just past the mortises to 1 7/8", and sized the bottom to 3/4". The taper is 26", so at halfway point, 13" determined that the diameter is 1 5/16" and sized it accordingly with parting tool and caliper.
Started with the lower half and established the taper between the mid and bottom, using first a SRG, then a skew. Found the skew was giving better results, so went with it. Started with the bottom 6" inches or so, and worked the taper down from 2" diameter, then moved up another 4" doing the same. Then moved to the mid point, and reduced the diameter to roughly 1 3/8". Here is where I struggle. The rough taper is established over a 13" distance, and the challenge is to smoothly plane down the surface with the skew. My focus is on the top of the silhouette, and not on the bevel, but I'm struggling to extend the focus to a longer plane to guide me. The cut quality is not the issue, as I'm stopping frequently to hone, but the result is a bit choppy and undulates a bit.
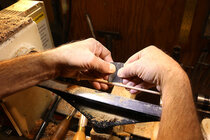
At this point, I laid a straight edge on the taper to start to identify high spots, marked them, and then smoothed them down with light, smoothing cuts, similar to the approach used with a hand plane. Then followed essentially the same method for the top half.
Anything jump out to work on - I'd like to be able to make longer cuts which are less undulating as you look down the leg and reduce the amount of time finding and cleaning up high spots.
Thanks

