• Congratulations to Alex Bradley winner of the December 2024 Turning Challenge (click here for details)
  • Conversations are now Direct Messages (click here for details)
  • Congratulations to Gabriel Hoff for "Spalted Beech Round Bottom Box" being selected as Turning of the Week for January 6, 2024 (click here for details)
  • Welcome new registering member. Your username must be your real First and Last name (for example: John Doe). "Screen names" and "handles" are not allowed and your registration will be deleted if you don't use your real name. Also, do not use all caps nor all lower case.

Large (33") Walnut Vase

Randy Anderson

Beta Tester
Beta Tester
Joined
May 25, 2019
Messages
917
Likes
1,410
Location
Eads, TN
Website
canthony.gallery
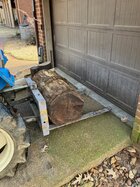
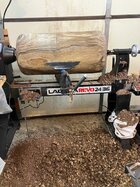
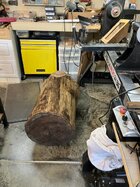
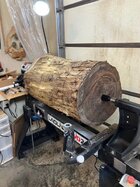
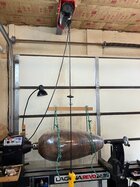
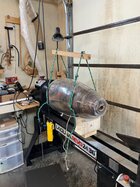
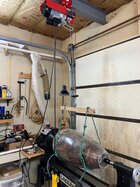
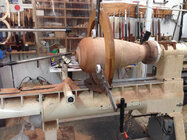
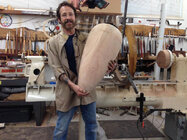
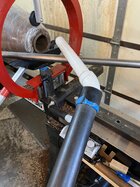
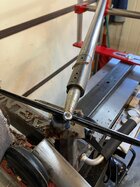
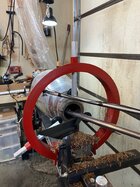
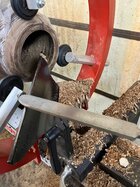
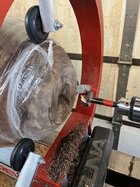
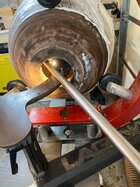
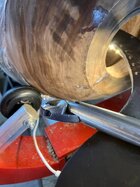
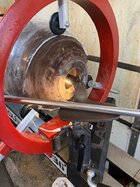
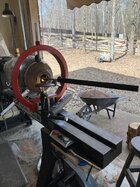
I have a huge stockpile of large walnut that my nephew brought to me a few months ago. It was cut from a tree that blew over in the hurricane they had last summer along the gulf coast. I ended up getting most all of the tree, including the massive root ball. I started yesterday on the first of quite a few large pieces and decided I would try to keep up with a project thread on the process. Here are some pics of getting it into the shop with my tractor, rolled in place and then lifted up with my ceiling hoist I have over the lathe. I forgot to take a pic of the hoist process. Per the online log weight charts it weighs approx. 300lbs. I was able to peel off the bark with a pry bar in about 45 minutes rather than try and deal with it on the lathe. Worth the time vs the absolute mess and fight it can be with a rouging gouge.

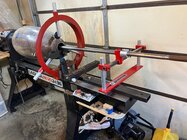
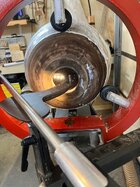
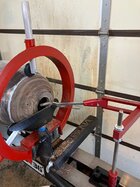
I currently have the Clark 1 1/4" hollowing bar setup but have ordered his 1 3/4" bar setup for this one and others to come. I've hollowed to 32" before with what I have but even with an 1 1/4" bar it's a tough slog and battle for the last 12-15", depending on the wood. I debated hollowing from both ends, a viable option I've done before, but would prefer not to. The goal for the next couple of days is to decide on which end will be top and bottom and begin shaping. It's 33" x 16".
 

Attachments

  • IMG_9667.jpg
    IMG_9667.jpg
    673.3 KB · Views: 15
  • IMG_9671.jpg
    IMG_9671.jpg
    103.2 KB · Views: 14
  • IMG_9668.jpg
    IMG_9668.jpg
    92.5 KB · Views: 15
  • IMG_9669.jpg
    IMG_9669.jpg
    88 KB · Views: 14
Randy,
Can't wait to see the progress of this project. I hope you post some pictures of it.
As for picking which end will be the top and bottom, I like to use the philosophy of Japanese woodworker, Tadao Arimoto, that a piece of wood should stand as it stands in nature. If you can figure out which way was up, that could help you decide. I know sometimes that it just won't work out that way, but it is a good starting point.

Tim
 
Tim, standing as it grew is often a good choice, if I can determine it. Sometimes it's just a subjective decision you have to make. For smaller pieces I get a basic shape and then stand it on my bench to look at it upright from different angles. Amazing how often my opinion of shape and top vs bottom will vary vs what it looked like horizontal on the lathe. A shape profile on the lathe can look all wrong standing up on my bench. Not an option with this piece. Still far too heavy for me to wrestle around on and off the machine.
 
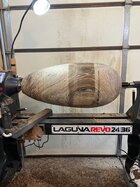
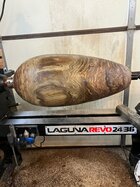
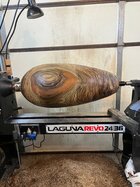
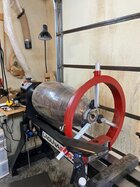
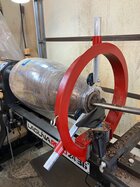
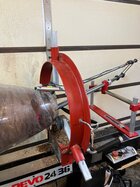
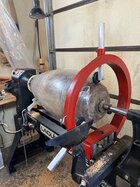
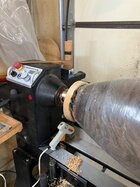
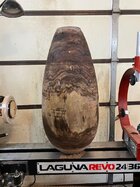
Basic shaping done. Since it's still just between a spur drive and live center I need to flip it around and mount with the tenon I currently have on the tail stock end. I can then focus on final shape, cleaning up the curve profile and putting my steady rest collar on the top. I typically turn an oversized tenon on the top, knowing I will turn it off after drying and second turning. Current thinking is the fat end is the bottom. Seems to flow better with the grain patterns best I can tell so far. Will see. I need to stop for a break anyway. Mountain of chips to high to even work around the lathe.
 

Attachments

  • IMG_9672.jpg
    IMG_9672.jpg
    540.6 KB · Views: 11
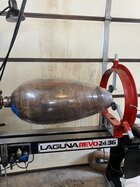
End of day step 2 done - outside shaping. Top is at tail stock end. Dia 15 1/2", 32 1/4" tall. You can tell on the top half where I thought I was done, started cleaning up and then caught my eye that I very slightly lost my curve a little less than halfway down. Went back and took about a 16th off from there, tapered to the top. I spend a lot of time going back and forth, different angles, stand it up on the bench if I can (leaving chuck on to keep alignment true) to make sure the curves flow and don't flatten out or ever so slightly change angle out of line with the rest of the surface. It's hard to get right and something I struggle with, especially on larger pieces. Sometimes all it takes is a few passes with a NR scraper to fix the issue. This will get a second turning once dry but critical I think to start right rather than think I'll fix it then. Will start hollowing in a couple of days. Wrapped in plastic until then.
 

Attachments

  • IMG_9675.jpg
    IMG_9675.jpg
    561.1 KB · Views: 8
  • IMG_9676.jpg
    IMG_9676.jpg
    586.4 KB · Views: 8
Back
Top