• January Turning Challenge: Thin-Stemmed Something! (click here for details)
  • Conversations are now Direct Messages (click here for details)
  • Congratulations to Scott Gordon for "Orb Ligneus" being selected as Turning of the Week for January 20, 2025 (click here for details)
  • Welcome new registering member. Your username must be your real First and Last name (for example: John Doe). "Screen names" and "handles" are not allowed and your registration will be deleted if you don't use your real name. Also, do not use all caps nor all lower case.

Sliding Eccentric Vacuum Sphere Chuck

Joined
Oct 3, 2013
Messages
170
Likes
230
Location
Ambridge, PA
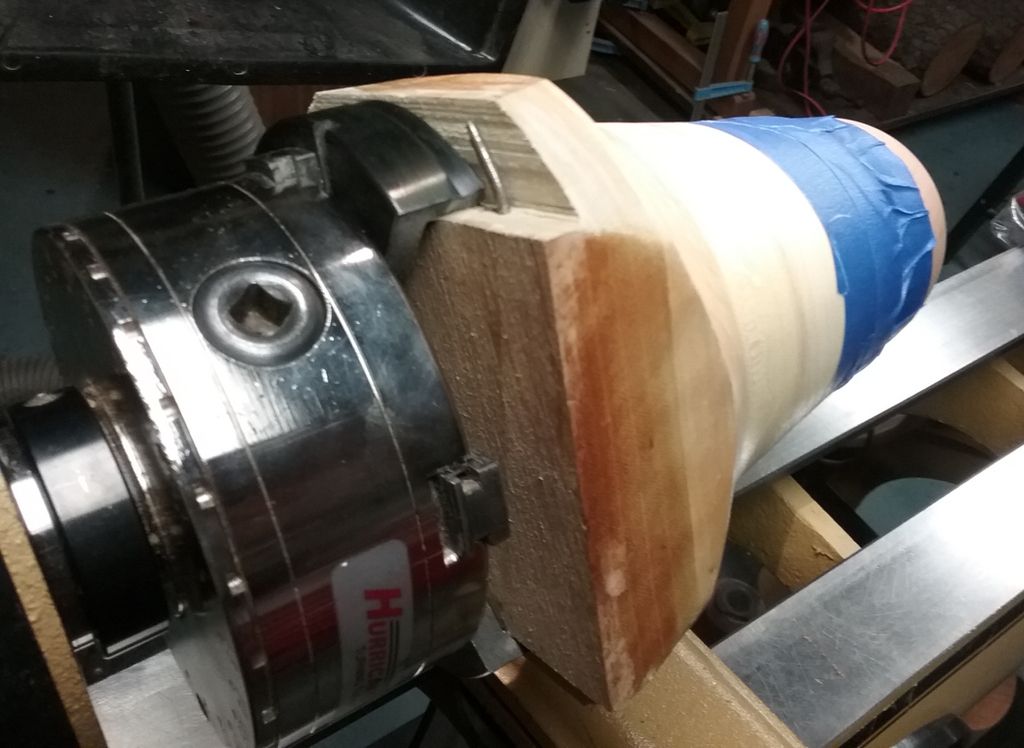
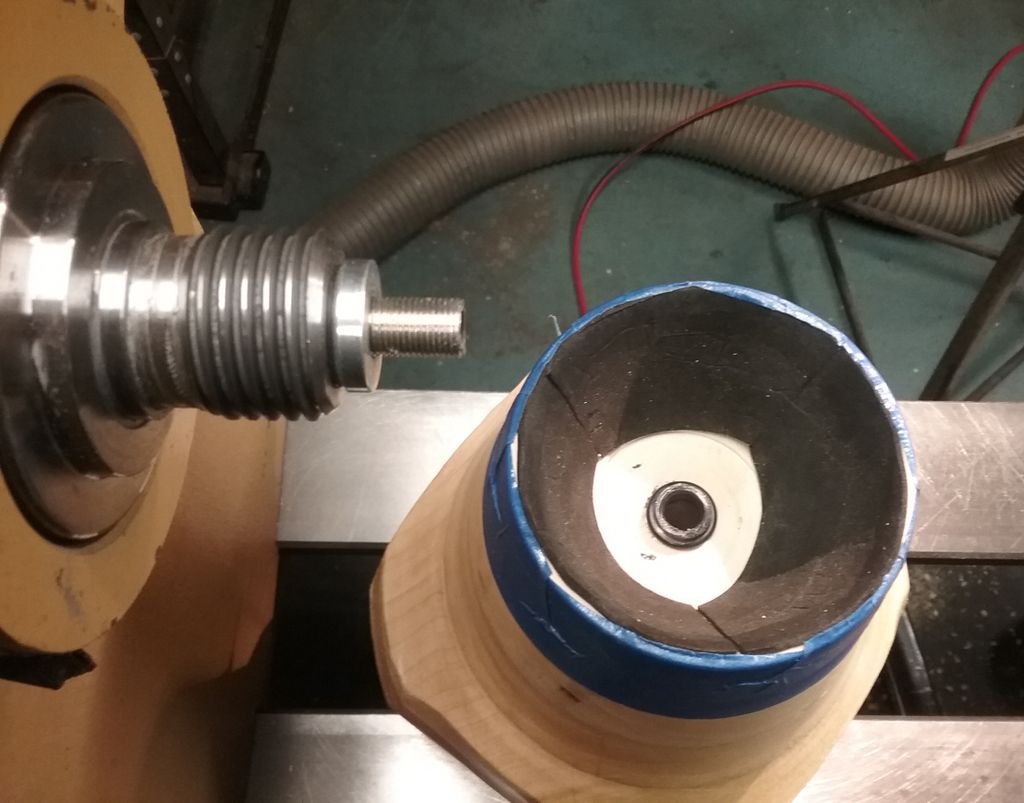
Had a chance to add vacuum to this 1st generation sliding eccentric sphere chuck today. Had been just adding blue tape to hold the sphere in place and although the tape seems to work just fine by itself, decided to add the vacuum for a little extra piece of mind and security. Fashioned after David Reed Smith's instructions, kind of happy with the results. Just used materials that were already on hand (except for the tubing), so it's a little bigger than the next would be if I want to try something different. As stated, this is made so the incision offset can be variable by sliding different distances off center, Can always return to center with a cut-off nail serving as a zero point. I think I'll use contrasting color inlays for these first few that I've done, like the light blue colored inlay in the cherry sphere in the last picture.
vsecd_zpsivdgkwuf.jpg
 

Attachments

  • vseca.jpg
    vseca.jpg
    422.1 KB · Views: 64
  • vsecc.jpg
    vsecc.jpg
    241.1 KB · Views: 65
  • vsecb.jpg
    vsecb.jpg
    267.4 KB · Views: 65
  • vsec1.jpg
    vsec1.jpg
    298.7 KB · Views: 64
  • vsec3.jpg
    vsec3.jpg
    295.9 KB · Views: 64
  • vsec4.jpg
    vsec4.jpg
    306 KB · Views: 65
  • vsec5.jpg
    vsec5.jpg
    399.1 KB · Views: 65
  • vsece.jpg
    vsece.jpg
    509.2 KB · Views: 64
Very nice Dave,
If I understand vsecb,jpg correctly the nail is used as zero against one edge of the jaws and to get the offset you slide the nail away from the jaw.
Is that correct?
Bob
 
The nail is in a permanent position (zero) and does not move. To offset, the jaws are loosen and the jig is moved to the desired position and jaws retightened. I'm about 3/8" offset for these spheres and the flexible tubing allows the vacuum line to bend to the position desired and still be functional.
 
Very nice, Dave. If I follow your description, does the nail go through the hole in the chuck and then through the tubing and finally into the hole in the Morse taper plug? Also am I interpreting what you are doing correctly if I assume that you are rotating the chuck in the jaws to get different offsets?
 
Bill,
The nail is only "hammered-in" to maybe 3/8" depth and it's only purpose is to serve as a zero stop. It's only bent over a little so it's not sticking up higher than the top edge of the jig. The zero stop allow for a continuous incise lines as shown in picture VSEC5. This pic shows the jig slid over 1/4" to make the other 3 curved incise from the VSEC5 picture.
DRS3_zpspupj4mb7.jpg
 
Back
Top