• December Turning Challenge: Tree! (click here for details)
  • Congratulations to José Esteban Cruz"Rocking Horse" being selected as Turning of the Week for December 16, 2024 (click here for details)
  • Welcome new registering member. Your username must be your real First and Last name (for example: John Doe). "Screen names" and "handles" are not allowed and your registration will be deleted if you don't use your real name. Also, do not use all caps nor all lower case.

Pull cut beginner questions

Joined
Jan 14, 2020
Messages
229
Likes
66
Location
Austin, TX
So I'm a 40 40 kinda guy. But today I was working on an ogee bowl ~9". It was mounted withe the base on the tailstock side so I was cutting towards the head. I found I could not get the bevel on an area about 1.5" from the base to around 2.5" because the tool handle was hitting the tailstock. I think I've hit this issue before and probably stuck some other tool on that section.
So I'm thinking this must be when the pull cut comes into play.
So this could be it's own post or perhaps"problem solved" and no need. Idk, but I have some questions about the pull cut.
In a Lyle Jamison video, he says you keep the tool handle way down, handle a bit towards the head (in my orientation) the flute at about 11 o'clock. ... Then pull :). My first question is, are we still cutting at the center line? Cuz I have to drop the tool rest a ways for that to be the case. Second the handle is really only a bit in front, like around seven o'clock and it kinda wants to sneak back into a push :). I guess lastly I'm using a Thompson v groove gouge and it kind of seems like you are either on the wing or on the tip. The "transition" area is pretttty small and I got the impression from the LJ video that that was where the cut was supposed to happen. So perhaps that's not the best profile for this purpose?
Anyway, thanks for reading another one of my long winded meandering posts.
Raif
 
Joined
Nov 22, 2023
Messages
324
Likes
2,910
Location
Morganton, NC
I think for ogee curve you would get better results from a 55-60* bevel. I’ve done several ogee curves and use Thompson and Lyles gouges and have those at 55-60*. I just float on the bevel as I get to the top of the ogee, drop the Handel some and rotate from around 9:00 to almost 12:00. It takes a little practice with the rotation and you can get a catch if you’re not careful. You can also turn against the grain from the top of the ogee with a sharp gouge and shear scrape if you get torn grain.
To me a pull cut is to just remove material and doesn’t have the handel dropped that far as you described in Lyles video. It sounds like Lyle is doing more of a shear cut. The more you drop the handle the more of a shear cut is put into play. When I do a shear cut the handle is low, almost at my pocket, I start above center and as I pull across the bowl I am also pulling down towards the centerline. Shear cut removes very little material, what is referred to as angle hair, and requires very light pressure.
Some of the best videos on pullouts and shear cuts are demonstrated by Ken at Turn A Wood Bowl on YouTube.
 
Last edited:

hockenbery

Forum MVP
Beta Tester
TOTW Team
Joined
Apr 27, 2004
Messages
9,052
Likes
5,583
Location
Lakeland, Florida
Website
www.hockenberywoodturning.com
I can tell you how I do the pull cut. I use the Ellsworth grind.
The Ellsworth is a better tool for me with the pull cut because bevel angle on the tool where I’m cutting is a or 35-30 degrees.
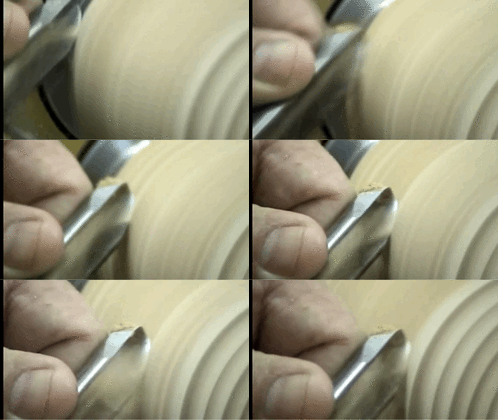
It’s easy to see the cut on a spindle
Pull cut spindle w BG.GIF

My first question is, are we still cutting at the center line? Cuz I have to drop the tool rest a ways for that to be the case.
I set the tool rest so I’m cutting at center with the tool level to the floor. Most outside turning I’m cutting above center with push cuts and more above center with pull cuts


Second the handle is really only a bit in front, like around seven o'clock and it kinda wants to sneak back into a push
If the handle is leading it will be a pull cut.
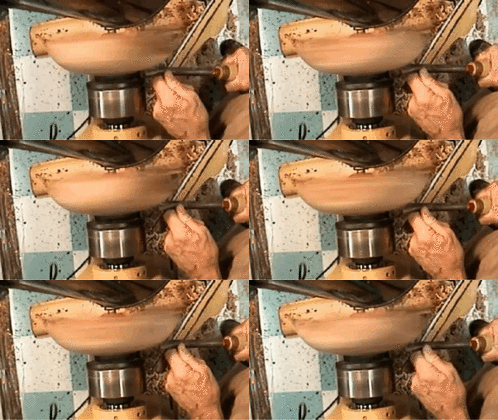
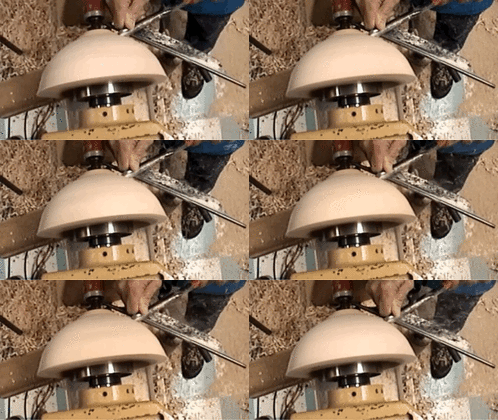
Here I’m truing a bowl after it was put in the chuck. It’s just a bit off.
Working from the headstock it’s backwards from your situation at the tailstock.
I stand behind the pull cut here. With the overhead you can see the handle against my side, the weight shift to the right foot, and turn of the body to follow the curve. Second gif shows the footwork better and the right hand never moves away from my side.
trim.23B208C5-2A41-44CB-A7B4-A5025A485C9E.gif trim.35FF3D13-B3CC-4A6C-A81B-D564CD2CF4F5.gif


got the impression from the LJ video that that was where the cut was supposed to happen.

This view you can see the bevel contact Is just past the leading edge of the wing.
trim.CA6047B8-5354-4766-A2B4-85D02A0413C7.gif
 
Last edited:

hockenbery

Forum MVP
Beta Tester
TOTW Team
Joined
Apr 27, 2004
Messages
9,052
Likes
5,583
Location
Lakeland, Florida
Website
www.hockenberywoodturning.com
This may add to the discussion
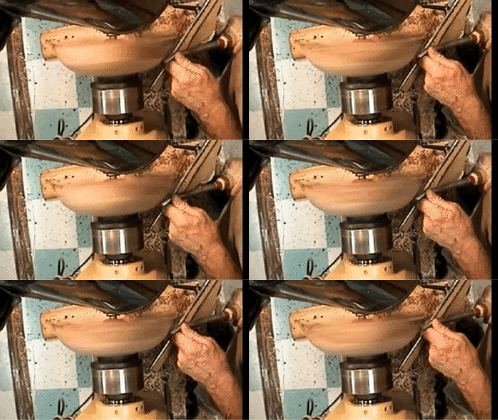
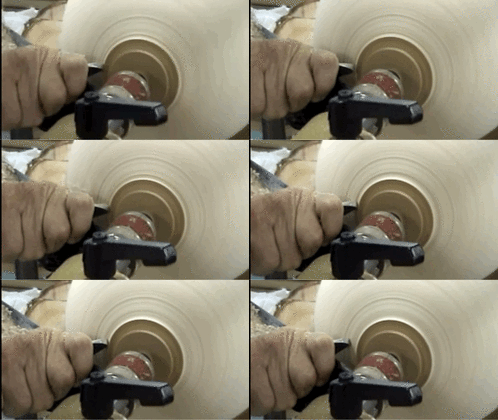
Here are a view views taken from a demo video where I return a dried bowl
This is where I can pick up the push cut with the Ellsworth gouge
trim.BF3B7D43-1230-452F-9A84-1FF1D5AFF5BE.gif

Here I work the foot area where I couldn’t use the push cut with a sort of pull cut
Still have some tiny tool mark ridges
trim.8D3D22E9-8AE0-4967-87F4-DC798741C7B0.gif
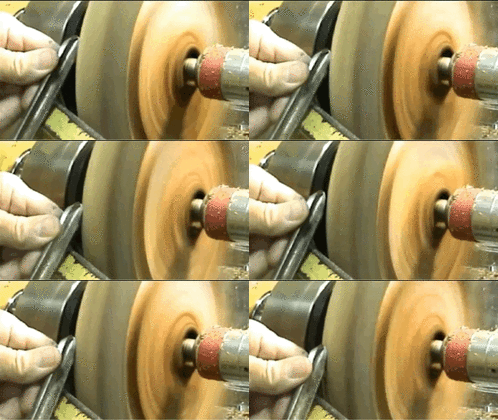
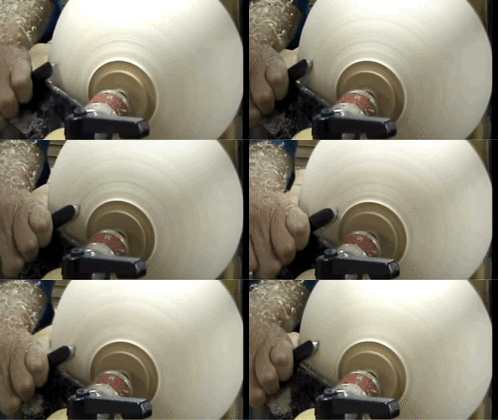
Smooth the surface with a shear scrape. Lower wing is on the wood upper wing is close to the wood but doesn’t touch the wood
trim.E3A4469C-D3A0-4FB9-AEF2-D4A84AEE11D4.gif

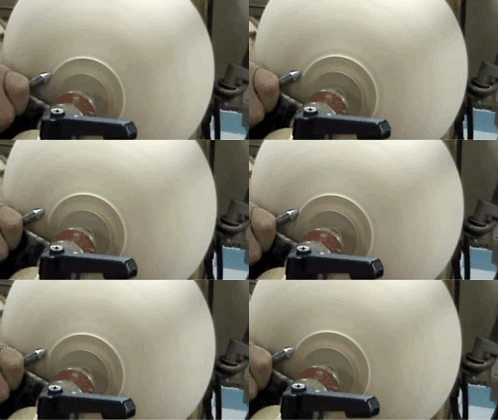
After I true the tenon with my spindle gouge I use it to clean up the foot area with a pull cut/shear scrape
trim.2011DE7D-E86D-4336-9DD7-DF3CB6A56C9E.gif
 
Last edited:
Joined
Dec 17, 2006
Messages
139
Likes
497
Location
Traverse City, MI
Website
www.lylejamieson.com
Thanks for the mention of my DVDs and Videos, Raif. And Thanks Al for the posted clips showing the pull cut. Nice definitions too. Let me start by clarifying some things. The question might be confusing to many folks. The reason I use a pull cut on the outside of a bowl is to slice or sheer the fibers the correct way to the grain. Downhill means going from the bottom of the bowl to the rim with supported wood fibers. The headstock gets in the way for a push cut. ( I always turn my pieces on one axis held with the foot of the bowl in the headstock. I never turn the outside of the bowl toward the tailstock and reverse it with the foot at the headstock to do the inside.)

Both my push and pull cuts have bevel support. My pull cut is only used for refining the shape and taking small shavings to smooth out the design lines. I don't use it for wood removal and hogging off wood.

The 40-40 grind will not work for my pull cut. As Al mentioned, he and I use a swept back wing grind and parabolic flute. These are needed. The 'U" and "V" flutes will not work the same and can get grabby or aggressive. My signature gouge has the same angles as the David Ellsworth gouges. My tip angle is 60 degrees and my wing measure 3/4 inches from the top to end of the wing.

The confusing part is, some folks use other grinds and call it a pull cut but are actually opening up the flute, raising the handle, and scraping with a bowl gouge with a pulling action with no bevel support.

There are three rules to my pull cut. Handle way down, bevel support on the side of the grind, and small shavings by using the cut, up at tip of the wing only. I roll my handle wrist to make the curve on the outside of the bowl with the bevel on the side of the wing directing the cut. Most bowls must be done of stages and usually I dont make a pass from the bottom all the way to the rim. There is very little swing of the handle to make a pull cut shaping a bowl.

Now to answer your question. When you lower the handle to do my pull cut, (many folks use other methods and call them pull cuts, so I am referring to my pull cut. There is not a common, consistent terminology) the cutting will be done considerably above the centerline. Do not lower the tool rest, that will hinder how low you can get the handle. The idea is to slice the wood fibers downhill on a steep, 45 degree or so, angle to the rotation of the wood. Clean cut, no torn-out grain and with a little practice a very sweet, refined, shape. See my Bowl Basics DVD for more details.

In case I don't have a chance to chime in again, I want to wish all my Turning family a very Merry Christmas, enjoy!!
 
Joined
Aug 14, 2007
Messages
5,781
Likes
3,090
Location
Eugene, OR
Well, I turn bowls with ogees on them and use my 40/40 gouge. I do hold my gouge with flutes up and the handle pretty level. I am cutting with the nose of my gouge. I don't use the pull cut or swept back gouges. For a high shear/sheer angle, I use several different shear scrapers with burnished burrs.

robo hippy
 
Joined
May 4, 2010
Messages
2,619
Likes
2,061
Location
Bozeman, MT
Well, I turn bowls with ogees on them and use my 40/40 gouge. I do hold my gouge with flutes up and the handle pretty level. I am cutting with the nose of my gouge. I don't use the pull cut or swept back gouges. For a high shear/sheer angle, I use several different shear scrapers with burnished burrs.

robo hippy
Reed, can you explain how you manage the inch or two of the outside of the bowl at the bottom of the bowl with a 40/40 and a push cut. (That area near the tenon/foot on the tail stock side, as Raif describes)
 
Joined
Jun 18, 2023
Messages
53
Likes
27
Location
Cincinnati, OH
Spmewhat different, I use a pull cut demonstrated by Richard Raffan on several of his Youtube videos. My weapon of choice is aq 5/8" bar diameter Thompson Tool spindle gouge with a 40 degree bevel fingernail grind. Smaller bowl blanks are on a dedicated screw chuck, larger bowl blanks on a 6" or 8" Oneway steel faceplate. With that tool and shape, I can take light pull cuts refining a curve, heavy roughing pull cuts, and in between. Making only once turned bowls, I complete the outside of the bowl before turning it around and mounting a tenon in a four jaw chuck.
 

Odie

Panning for Montana gold, with Betsy, the mule!
TOTW Team
Joined
Dec 22, 2006
Messages
7,258
Likes
11,316
Location
Misssoula, MT
I use the traditional grind, which seems to be almost extinct these days. (In the context of this thread, I believe this makes little difference, if any.)

The sharper your tool is, the less dependent on using the bevel as a leverage fulcrum for the best cut it will be. (A sharper tool needs less force for a better cut.) For the exteriors of bowls, the majority of my cuts are pull cuts......but, with a slight difference. As most of you have, I've studied the available videos of other turners, and one thing seems to be universal. That is, the majority of pull cuts tend to use a specific point along the wing for the entire cut.

Now, this does take some practice, but my method has evolved to learning how to use the entire wing for the cut. One great advantage of this is to utilize the entire sharpened edge......which preserves the integrity of the sharpness throughout the length of the wing. The sharpness will last longer if one can use all the edge that is available......and, if one point isn't as sharp as the rest of the available edge, one could experience a "hiccup" while using the gouge for a follow-up cut.

The way to use the entire wing, is to rotate the tool along its longitudinal axis while proceeding through the cut. This will take some practice, but I'm confident many turners will improve the overall quality of their turnings if they can master this technique. Improving the quality of the cut translates to less sanding required after the cut. Less sanding preserves the geometric integrity of the turned object, and allows more intricate details to be done without distortion.

=o=
 
Joined
Sep 19, 2023
Messages
999
Likes
1,838
Location
Columbia, TN
The way to use the entire wing, is to rotate the tool along its longitudinal axis while proceeding through the cut. This will take some practice, but I'm confident many turners will improve the overall quality of their turnings if they can master this technique. Improving the quality of the cut translates to less sanding required after the cut. Less sanding preserves the geometric integrity of the turned object, and allows more intricate details to be done without distortion.

=o=

@hockenbery Al, we need a GIF. ;)
 
Joined
Aug 14, 2007
Messages
5,781
Likes
3,090
Location
Eugene, OR
Reed, can you explain how you manage the inch or two of the outside of the bowl at the bottom of the bowl with a 40/40 and a push cut. (That area near the tenon/foot on the tail stock side, as Raif describes)
Not sure I understand. I have a bunch of bowl turning videos on You Tube under my alias robo hippy. They have been up for a while, and my techniques differ a bit now. Push cut down the outside is simple. Push cuts down the inside are a bit different. On the inside of a bowl, I go down the wall to the transition area, and once there, I switch to a BOB (bottom of bowl) tool with about a 65 degree bevel which will go through the transition fairly well even on deeper bowls. I do all of my roughing with scrapers since they are faster.

robo hippy
 
Back
Top