Chris Schwarz (Lost Art Press) has a short video going through the process of making his oil/wax blend. Pure linseed oil, beeswax, and citrus solvent. In this link for the video https://blog.lostartpress.com/2024/12/11/how-we-make-our-soft-wax/ his latest book is mentioned (American Peasant) where the recipe is explained in full. You can buy the book from him, or download it for free. If you google search "soft wax Lost Art Press", you'll get many hits from over the years. He uses it as a finish for much of the furniture he builds. These blends have been made forever, this is just his version.
-
December 2025 Turning Challenge: Single Tree! (click here for details) -
Congratulations to Bob Henrickson, People's Choice in the November 2025 Turning Challenge (click here for details) -
Congratulations to Guillaume Fontaine for "Old Tea Pot" being selected as Turning of the Week for December 15, 2025 (click here for details) -
Welcome new registering member. Your username must be your real First and Last name (for example: John Doe). "Screen names" and "handles" are not allowed and your registration will be deleted if you don't use your real name. Also, do not use all caps nor all lower case.
You are using an out of date browser. It may not display this or other websites correctly.
You should upgrade or use an alternative browser.
You should upgrade or use an alternative browser.
homemade linseed oil/wax formula, by Lost Art Press
- Thread starter Steve Tiedman
- Start date
Update- in the LAP blog posting above, a later post mentions they've tweaked the recipe by going with 4 tablespoons of the citrus solvent to soften the mixture a bit more for easy application. If you start with 3tbs and it is too thick for your liking, reheat and add the 4th.
Last edited:
I asked Richard Raffan about the oil/wax finish he uses often in videos and such. He said he sometimes melts beeswax and mixes it with mineral oil, 50/50 - that's what you see him apply in some of his videos.
I have lots of beeswax from my beehives so I tried it. Doesn't make a very durable finish but apparently it's not fur durability but just for show - he said things that get used, for example, bowls used and washed, develop their own patina regardless of the finish.
In one of his books he says he sometimes oils a surface then with the lathe spinning, rubs it with a chunk of beeswax (or paraffin). The wax is to "keep the oil in the wood during it's shelf life in a gallery or store". Check page 189 and on in his 2021 book Turning Wood, Chapter 8, Finishes.
Beyond this, there are some excellent books on finishes worth reading.
Some in my library are:
The definitive "Understanding Wood Finishing" by Bob Flexnor
Stephen Shepherd's "Shellac, Linseed Oil, & Paint - Traditional 19th Century Woodwork Finishes"
Jeff Jewitt's "Great Wood Finishes"
Also, many books have excellent chapters on finishing, such as
Keith Rowley's "Woodturning, a Foundation Course"
Sections in Darlow's books such as his "Fundamentals of Woodturning"
and many more.
Even "Elseworth on Woodturning" has some interesting information.
These provide different persepctives - I think it's worth studying a variety of methods, some oil and wax, some not.
The bottom line is one size doesn't fit all. The goals, intended use, and other factors need to be considered.
JKJ
I found it and thought I'd post it here. It's in the Lost Art Press book American Peasant by Christopher Schwartz on page 78.
Linseed Oil & Wax Finish Recipe
• 2 cups (16 ounces by volume) raw linseed oil. Metric: 473 ml
• 3.8 ounces (by weight) shredded beeswax. Metric: 108 g
• 2-4 tablespoons limonene. Metric: 30-60 ml
Linseed Oil & Wax Finish Recipe
• 2 cups (16 ounces by volume) raw linseed oil. Metric: 473 ml
• 3.8 ounces (by weight) shredded beeswax. Metric: 108 g
• 2-4 tablespoons limonene. Metric: 30-60 ml
A takeoff on the classic Sam Maloof finishing process.
Sam's finish was a two part process. The first part was equal parts tung oil, linseed oil, and urethane. Put on three or four coats than go to the next step.
Part two was tung oil, linseed oil, and beeswax. Not sure on the exact proportions as I've read that Sam would grab a handful of beeswax pellets or shavings to add to the oil. A couple coats of this mix.
It worked well for him as his rockers routinely sell in the five figure range.
I have played with his process. In part one I usually add a much greater proportion of polyurethane to up the resistance to liquid spills.
For the second part with beeswax I mix equal proportions by weight. When cool it is about the consistency of butter. I usually warm it to apply. It adds a remarkable satin sheen and the wax fills the pores (especially on walnut) that adds a lot to the feel. It doesn't last long on a stool or chair but use adds a patina almost identical to the wax finish.
Lots of work to get it right
I thought raw linseed oil never really cured.
- Joined
- Feb 28, 2021
- Messages
- 1,774
- Likes
- 1,587
- Location
- Roulette, PA
- Website
- www.reallyruralwoodworks.com
Oh it cures.. after many, many months of air drying a thin coat (and it cures pretty hard)I thought raw linseed oil never really cured.
I inherited a couple large (1 quart) glass jars of ancient raw linseed oil that was frequently used on the farm (many uses besides just tool handles) - upon trying to open one of them that had probably not been opened in 30 years (I know it sat in that cabinet for that long at least) the lid was caked to the jar threads and the gelled up oil there was hard as a rock (ended up using a Dremel to cut the metal ring off, glass cracked at the end and decanted the oil into a 1-liter plastic bottle - the dried oil would not come off the glass - quite a bond there..)
When I actually used some of it on a scrap wood panel (cleaning up the mess!) and left it out to "dry" it took well over 3 months (At least 3 since I checked it at that point and it was still slightly "tacky" for want of better word) to cure, but once it did, it was actually a beautiful finish (which is why I didn't hesitate to buy when I discovered tried & true products) I'd bet anyone who has ever worked with actual true (and aged, I suppose) raw linseed oil would likely agree. After all, one would think those old farmers and craftsmen might have "known something" that we don't in this day and age?
I believe I still have the other quart jar (still haven't used up the first one that sits in plastic bottle) I think forgotten back in the cabinet where they'd been stored - a strip of tape with grandpa's handwriting "LINSEED" on it.... I should take a picture if I think of it next time I get into that cabinet...
All versions of linseed oil cure into a solid state, how quickly depends on what has been done to it by the time it gets to you. Chemical "boiled" (cheap hardware store stuff) linseed oil has various metallic drying agents to speed the process. From memory, Japan drier is another chemical additive to speed curing oils. Heat polymerization/oxidation is yet another method (not something you can do at home) to start the molecular curing process of the oil molecule chains. And then there is the process of "washing" raw linseed oil...I thought raw linseed oil never really cured.
This article at the Lost Art Press site is part of a future book, but gives some interesting insight.
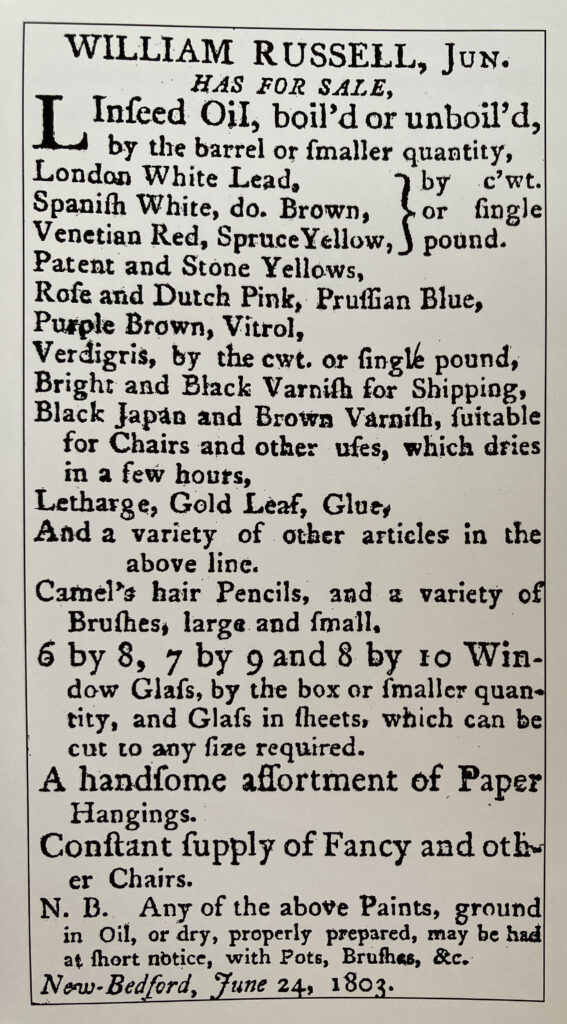
The Lowdown on BLO - Lost Art Press
The following is by Steve Voigt, whom you might know primarily as a maker of wooden planes. But he's also passionate about traditional finishes, and has been
 blog.lostartpress.com
And if you like adding color to your work, here is some info on linseed oil paint.
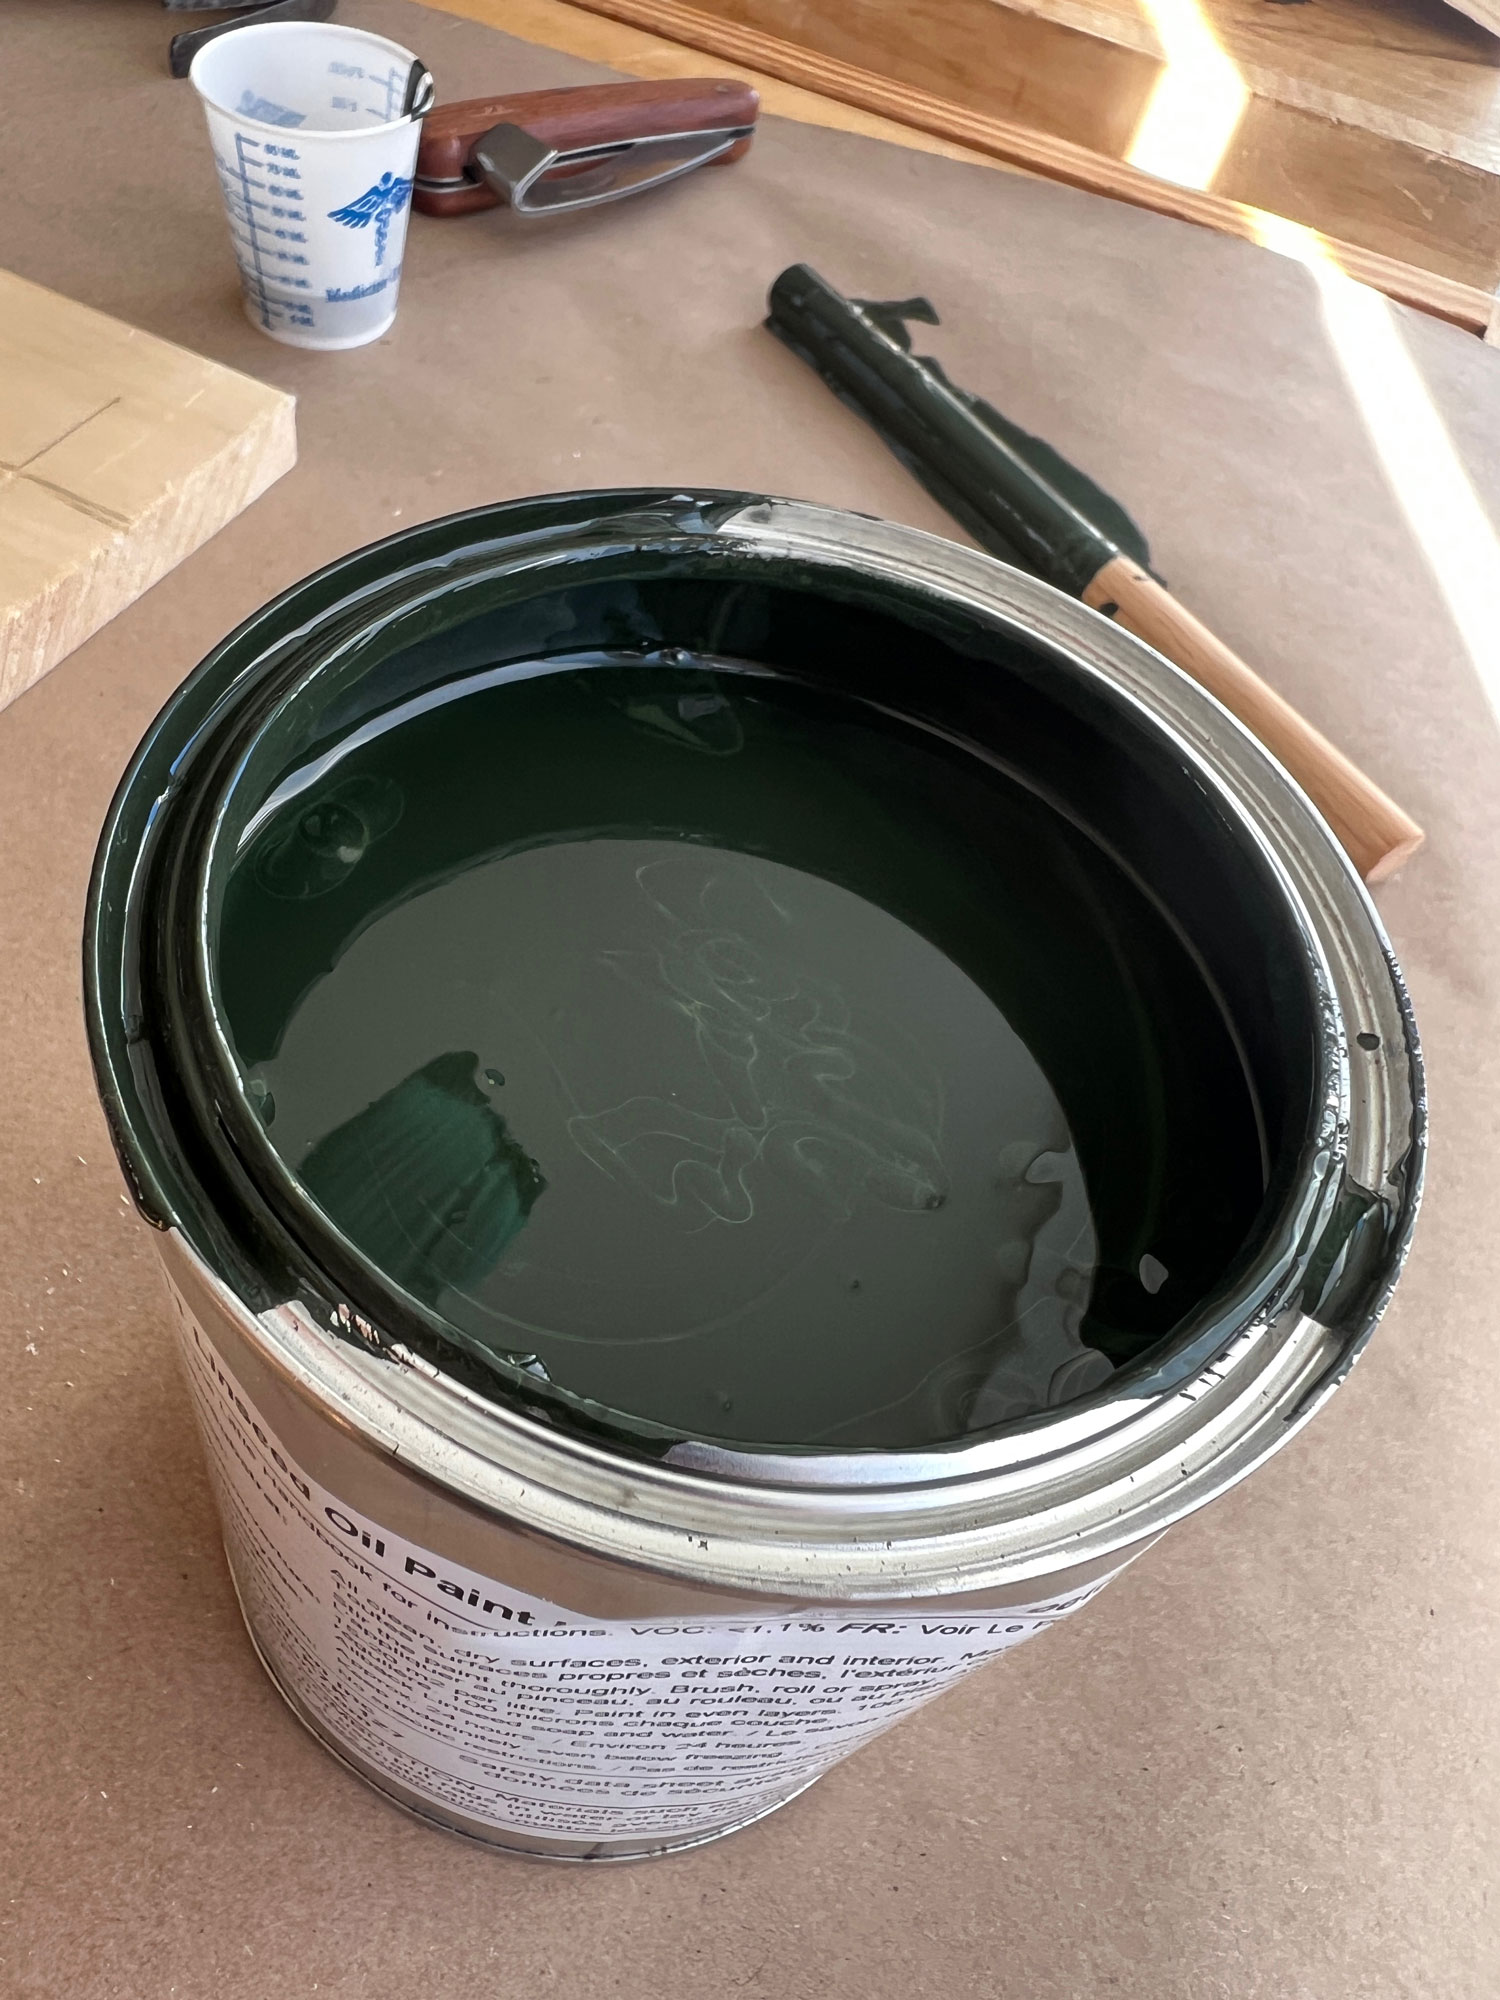
Changing Paints - Lost Art Press
For the last 20 years I’ve used mostly milk paints and acrylics on my furniture. I have reservations about both kinds of paint.
 blog.lostartpress.com
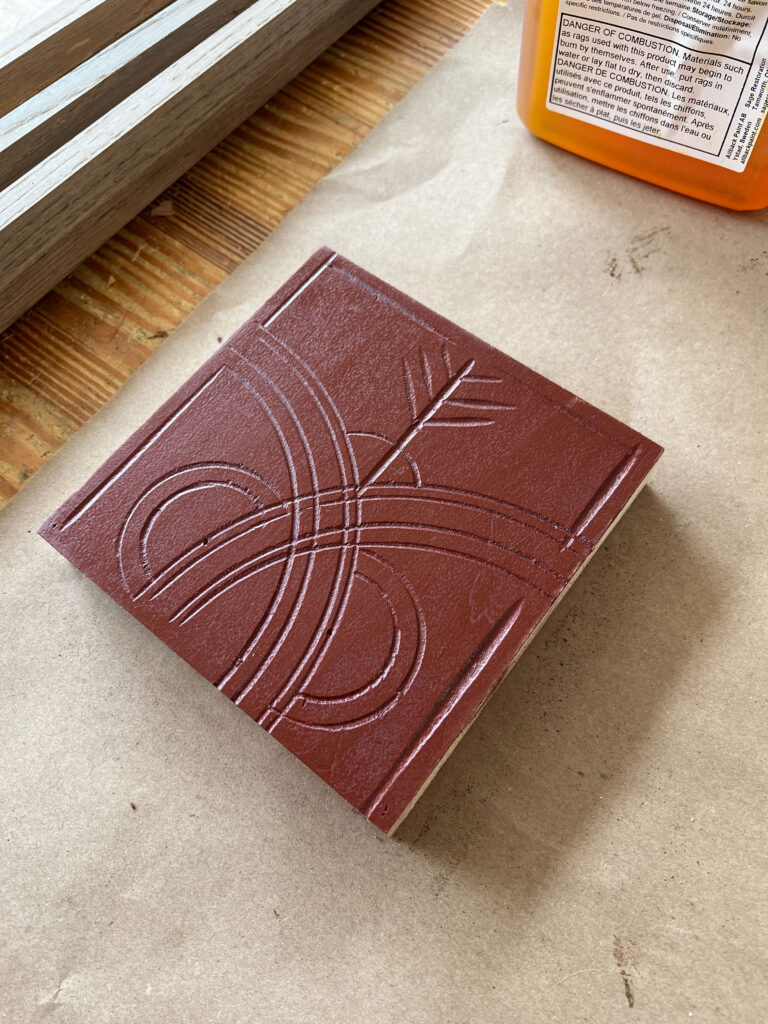
Finishing the Finish (Linseed Oil Paint) - Lost Art Press
After carving 106 of these spell panels for “The American Peasant,” Megan painted all of them with three colors of Allback linseed oil paint – Holkham Green,
 blog.lostartpress.com
Rabbit holes!
Chemical "boiled" (cheap hardware store stuff) linseed oil has various metallic drying agents to speed the process. From memory, Japan drier is another chemical additive to speed curing oils.
From Google:
Japan drier refers to metal salts that are oxidation catalysts and usually is a cobalt salt, cobalt linoleate or cobalt naphthanate, that is added to drying oils like linseed, walnut oil, safflower oil or lacquer to accelerate the curing.
I keep some for rare uses. Nice thing about Japan Drier is you can add it to lots of finishes if in a hurry. (although patience is sometimes referred to as a virtue - what's that about?!)
As Brian touched on, Tried and True Original is polymerized linseed oil and beeswax. Nothing more. No dryers, no added chemicals. It appears to be expensive, but a quart will last a long time. Per the directions, you only need enough to change the color of the wood on application. Kent Weakly at www.turnawoodbowl.com says, "If you have any, you have enough."
I mix my own shellac, but that's about as far as I feel I need to go re home-made recipes.
I mix my own shellac, but that's about as far as I feel I need to go re home-made recipes.
I mix my own shellac, but that's about as far as I feel I need to go re home-made recipes.
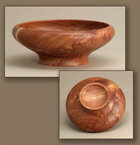
One of my favorite "finish recipes" is nothing but pure beeswax. (I have an excess from our hives). I like the look on eastern red cedar, either rubbed on by hand or with a wax stick held against spinning wood. Sometimes I'll leave it at that or heat afterwards with a heat gun - this melts the wax which seeps into the grain for a much darker finish.
At the top and left is beeswax on cedar, hand rubbed with a cloth, looks the same
after 10 years of use in the house. My first piece where I developed this design.
Beeswax applied with cloth with the lathe running to soften and melt it a bit.
Nearly 20 years old now, still looks the same.

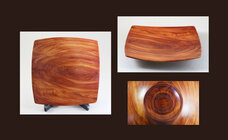
This is cedar with beeswax melted with a small heat gun to
soak into the grain, excess rubbed off with a cloth.
For comparison, "danish" oil on cedar.
JKJ
Last edited:
I'll have to try that. T&T Original and Danish oil darken the cedar more than I like.One of my favorite "finish recipes" is nothing but pure beeswax. (I have an excess from our hives"). I like the look on eastern red cedar, either rubbed on by hand or with a wax stick held against spinning wood. Sometimes I'll leave it at that or heat afterwards with a heat guy - this melts the wax which seeps into the grain for a much darker finish.
At the top and left is beeswax on cedar, hand rubbed with a cloth, looks the same
after 10 years of use in the house. My first piece where I developed this design.
View attachment 70110
Beeswax applied with cloth with the lathe running to soften and melt it a bit.
Nearly 20 years old now, still looks the same.
View attachment 70112
This is cedar with beeswax melted with a small heat gun to
soak into the grain, excess rubbed off with a cloth.
View attachment 70113
For comparison, "danish" oil on cedar.
View attachment 70111
JKJ
