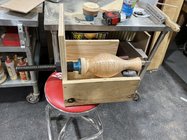
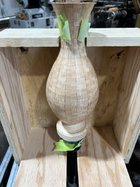
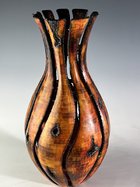
I have a 13" black cherry vase that split up the side from the bottom. I'll usually do a black or colored fill on cracks like this but this one is bigger than most so considering cutting it in half top to bottom and making a matching set of wall hangings out of it. I've seen pictures of them but never done one. Any tips on the process appreciated. Thinking is sanding first, reshape the bottom to more rounded look, then cut in half and apply finish. Not sure how to put a backing on it. Some thin recessed hardboard maybe? How to create a recess for the backing will be a challenge. Not 100% sure that's what I'll do yet but interesting opportunity to try one.
In the past I've also made 3 leg stands for them with one leg covering the crack and the stand fixed to the vase so it's permanent but the shape of this one doesn't really match a stand profile.
In the past I've also made 3 leg stands for them with one leg covering the crack and the stand fixed to the vase so it's permanent but the shape of this one doesn't really match a stand profile.