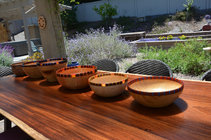
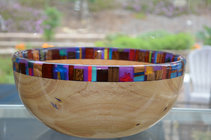
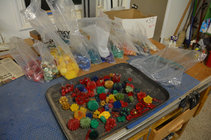
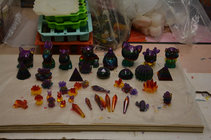
I have come up with a way to add a decorative rim to any bowl either twice turned or from a solid dried wood blank. This will not work on green wood as resin does not like a lot of moisture and the rim will most likely separate as the wood moves while drying. A note – all the resin I use (about 75-100 gallons a year) is ‘slow set’ – 50-60 minute pot life @ 75 degrees. This will NOT work with a fast set product.
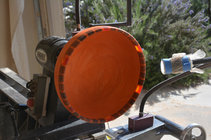
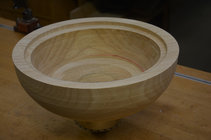
1st step is to finish turn the outside of the bowl leaving the top rim with a flat surface ~ an inch or so wide.
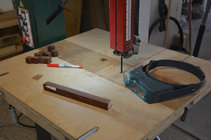
Arrange the pieces of wood/resin that you want to attach around the rim in whatever pattern pleases you – this rim is Cocobolo and red/orange pieces. I space the pieces about ¼” apart as I want the color of the resin to show as part of the design.
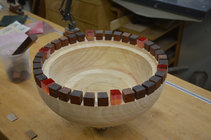
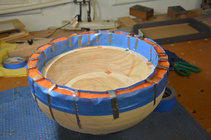
I use 2” blue masking tape for the resin barrier – resin will not leak through the blue tape surface but if you just pour the resin in the hydraulic pressure will lift the tape off the wood and it WILL leak. To prevent put a thin layer of resin down – this does 2 things – seals the wood/tape joint so it won’t leak and glues the pieces down so they don’t float out of position.
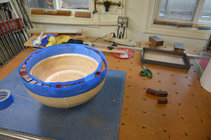
Next day – fill to cover the rim pieces with opaque/transparent resin color of choice. If the resin pressure makes the blue tape want to bow out/in, add some tape from inside-outside to minimize this as excess all gets turned away so you want to minimize waste.
1st step is to finish turn the outside of the bowl leaving the top rim with a flat surface ~ an inch or so wide.

Arrange the pieces of wood/resin that you want to attach around the rim in whatever pattern pleases you – this rim is Cocobolo and red/orange pieces. I space the pieces about ¼” apart as I want the color of the resin to show as part of the design.

I use 2” blue masking tape for the resin barrier – resin will not leak through the blue tape surface but if you just pour the resin in the hydraulic pressure will lift the tape off the wood and it WILL leak. To prevent put a thin layer of resin down – this does 2 things – seals the wood/tape joint so it won’t leak and glues the pieces down so they don’t float out of position.

Next day – fill to cover the rim pieces with opaque/transparent resin color of choice. If the resin pressure makes the blue tape want to bow out/in, add some tape from inside-outside to minimize this as excess all gets turned away so you want to minimize waste.


