Congratulations to Paul May for "Staircase Study #1" being selected as Turning of the Week for November 11, 2024
(click here for details)
Welcome new registering member. Your username must be your real First and Last name (for example: John Doe). "Screen names" and "handles" are not allowed and your registration will be deleted if you don't use your real name. Also, do not use all caps nor all lower case.
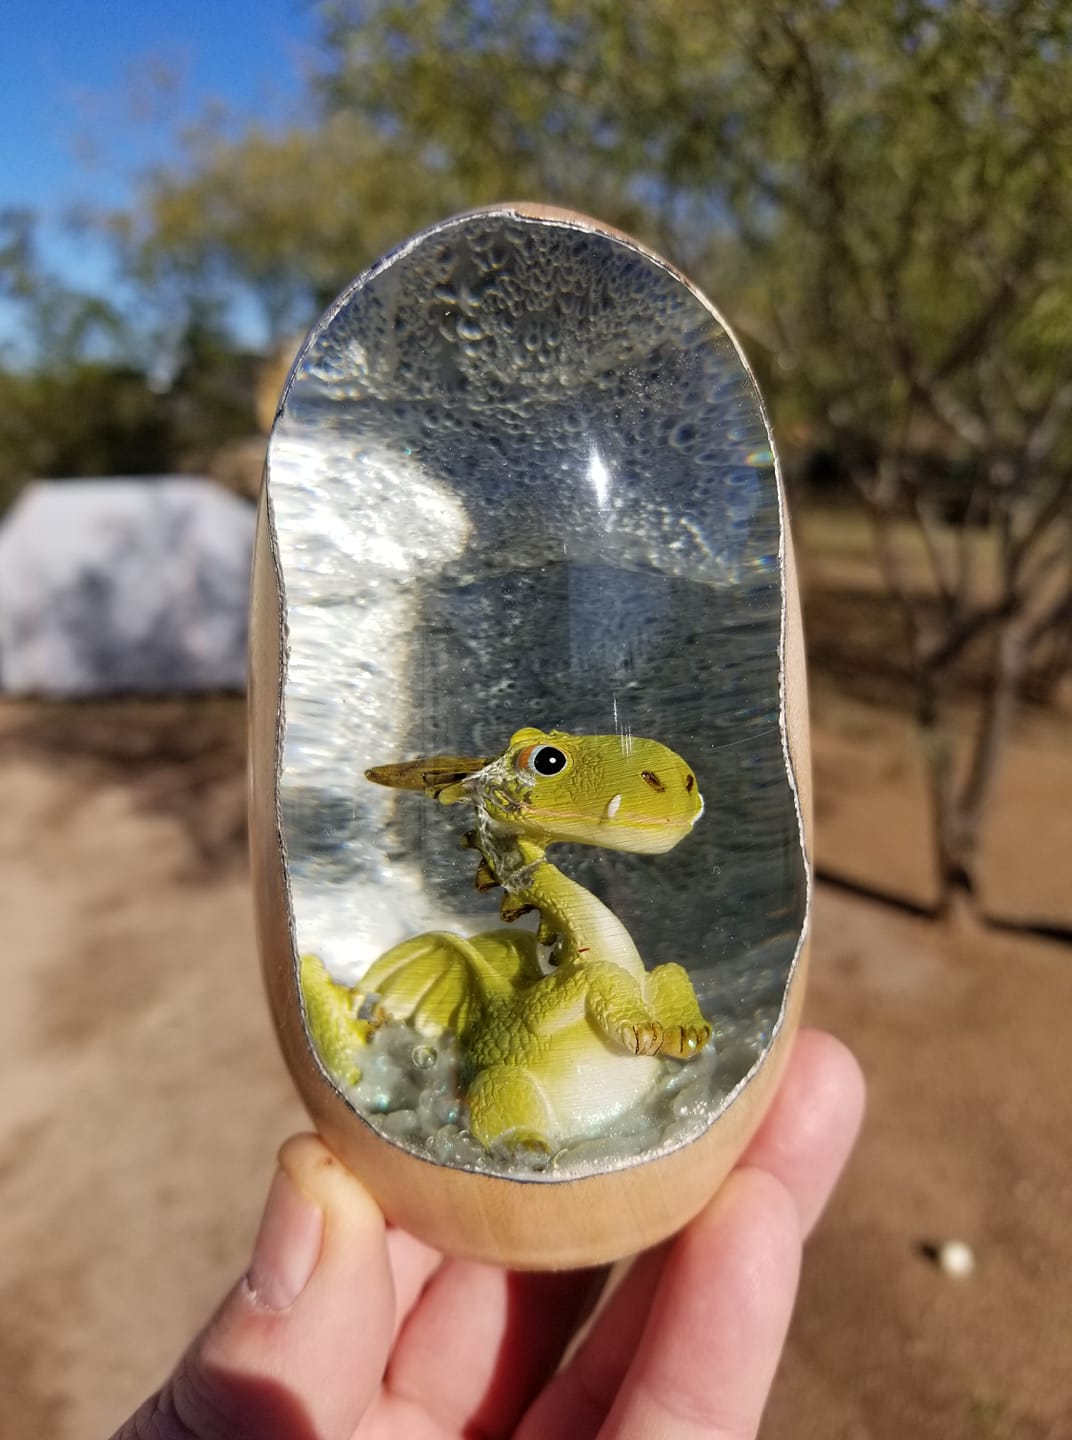
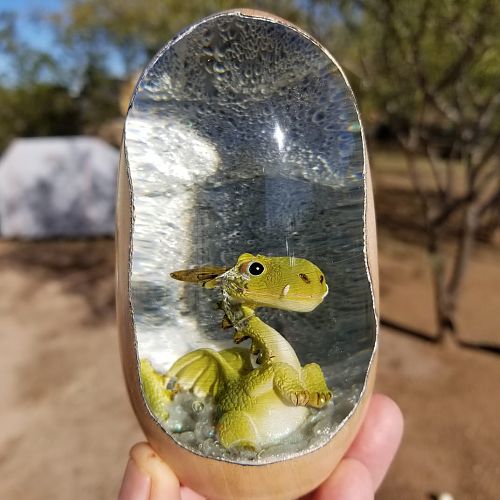
Not a tutorial per se, it was more of a happy accident. I took a piece of cherry wood, and using a forstner bit hollowed out a cavity, and coated the inside with a thin layer of resin. Originally I had colored it with a color shifting pigment, but I hadn't let it dry completely before placing the dragon and pouring the main body of resin. The bubbles inside were because the cherry hadn't been dried or stabilized so leaked some air into the initial thin coating. After the main pour cured, I considered it a failure, but shaped it anyways. When it was done, it kinda looked like the dragon was embedded in ice, hence the name. I've changed my method to better accommodate for the thin layer, eliminating the air bubbles in the underlying layer. But it was a happy accident, and I was pleased with the results. I wonder if I could duplicate the accident, because truthfully those inner bubbles give it some... character and/or texture?
This site uses cookies to help personalise content, tailor your experience and to keep you logged in if you register.
By continuing to use this site, you are consenting to our use of cookies.