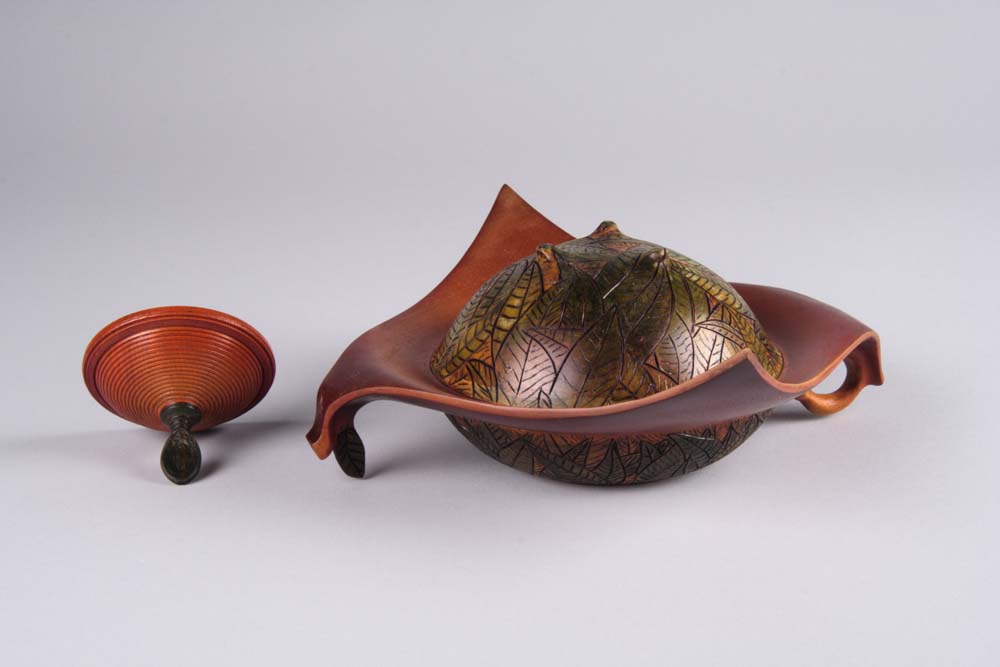
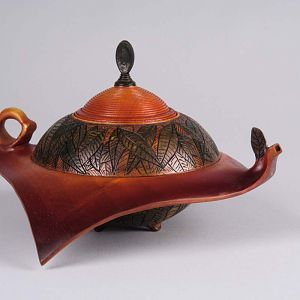
Fly In For Tea
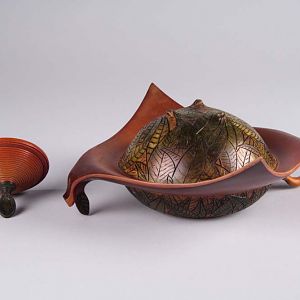
This piece as you can imagine was real Teasa!!.
Measuring 150mm square 6inches.
I have been working on this idea for a while 3 prototypes later.
Model one I lost the spout and the hole for the lid looked to large
Model two I blew the wings
Model 3 I went through the side trying to get the piece as thin as I could .It was a hard one to get any measuring device inside so I just had to use the tap test.
And I wont tell you about the three goes I had at the lid to get it right.
After taking these photos I had to go back to the drawing board as a couple of marks came up that I didnt see until the picture was on the screen .Another few (many ) hours sanding back down to 1200 grit.
Thanks to Gordon Prembridge and an airbrush lesson and holding my hand. This is my first what I consider success at feathering and layering with an airbrush.
Sanding this piece I remembered the words of some wise old carver that said to me if you think you have finished sanding you need to spend as long as you have already over again.
I was lucky enough to know someone with a tea tree so I was able to pick a few leaves and make templates.
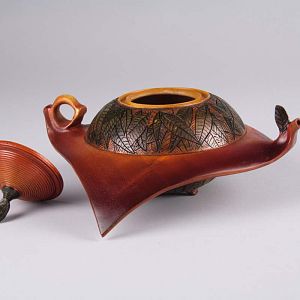
Cutting around the handle and spout was a test for the skew .I ended up getting down in-between the gap of the container and the handle with a spindle gouge sharpened as far back as I could take the sides.
The Colours to the body were also airbrushed by using liquid mask layering the colours then masking up the next set of leaves once the paint was dry.
I found the air brush doesnt like being dropped as I bent the needle somehow.
Why is it its usually (always ) the last spray a blob comes out.
I am stoked with this piece know that I have started to lay on coats of lacquer to give the airbrushing some depth ,its all coming together .The problem I will have is knowing when to stop ,as I would hate to have to sand the thing back again .
Comments welcome
Cheers

